Alinea Recipe, pages 194-199.
Continued from BEEF, Elements of A1 (Part 1)

Beef. It’s what’s for dinner (and lunch)!
In celebration of this beef dish from Alinea, I thought I’d add a totally unrelated aside here about our recent pilgrimage to Philippe’s French Dip in Los Angeles. We took the Pacific Surfliner train from the Santa Fe Station in San Diego up to L.A. on the weekend to visit some friends for the Brewery Artwalk. On the train, we checked out the snack car. Surprisingly, they had large bottles of Stone Brewery Arrogant Bastard Ale.

Union Station, Los Angeles, California.
The Brewery Arts Complex is now one of the country’s largest “artist’s colonies,” housed in 23-acre area of old buildings that were once the Pabst Blue Ribbon Brewery. A pretty cool maze to visit…
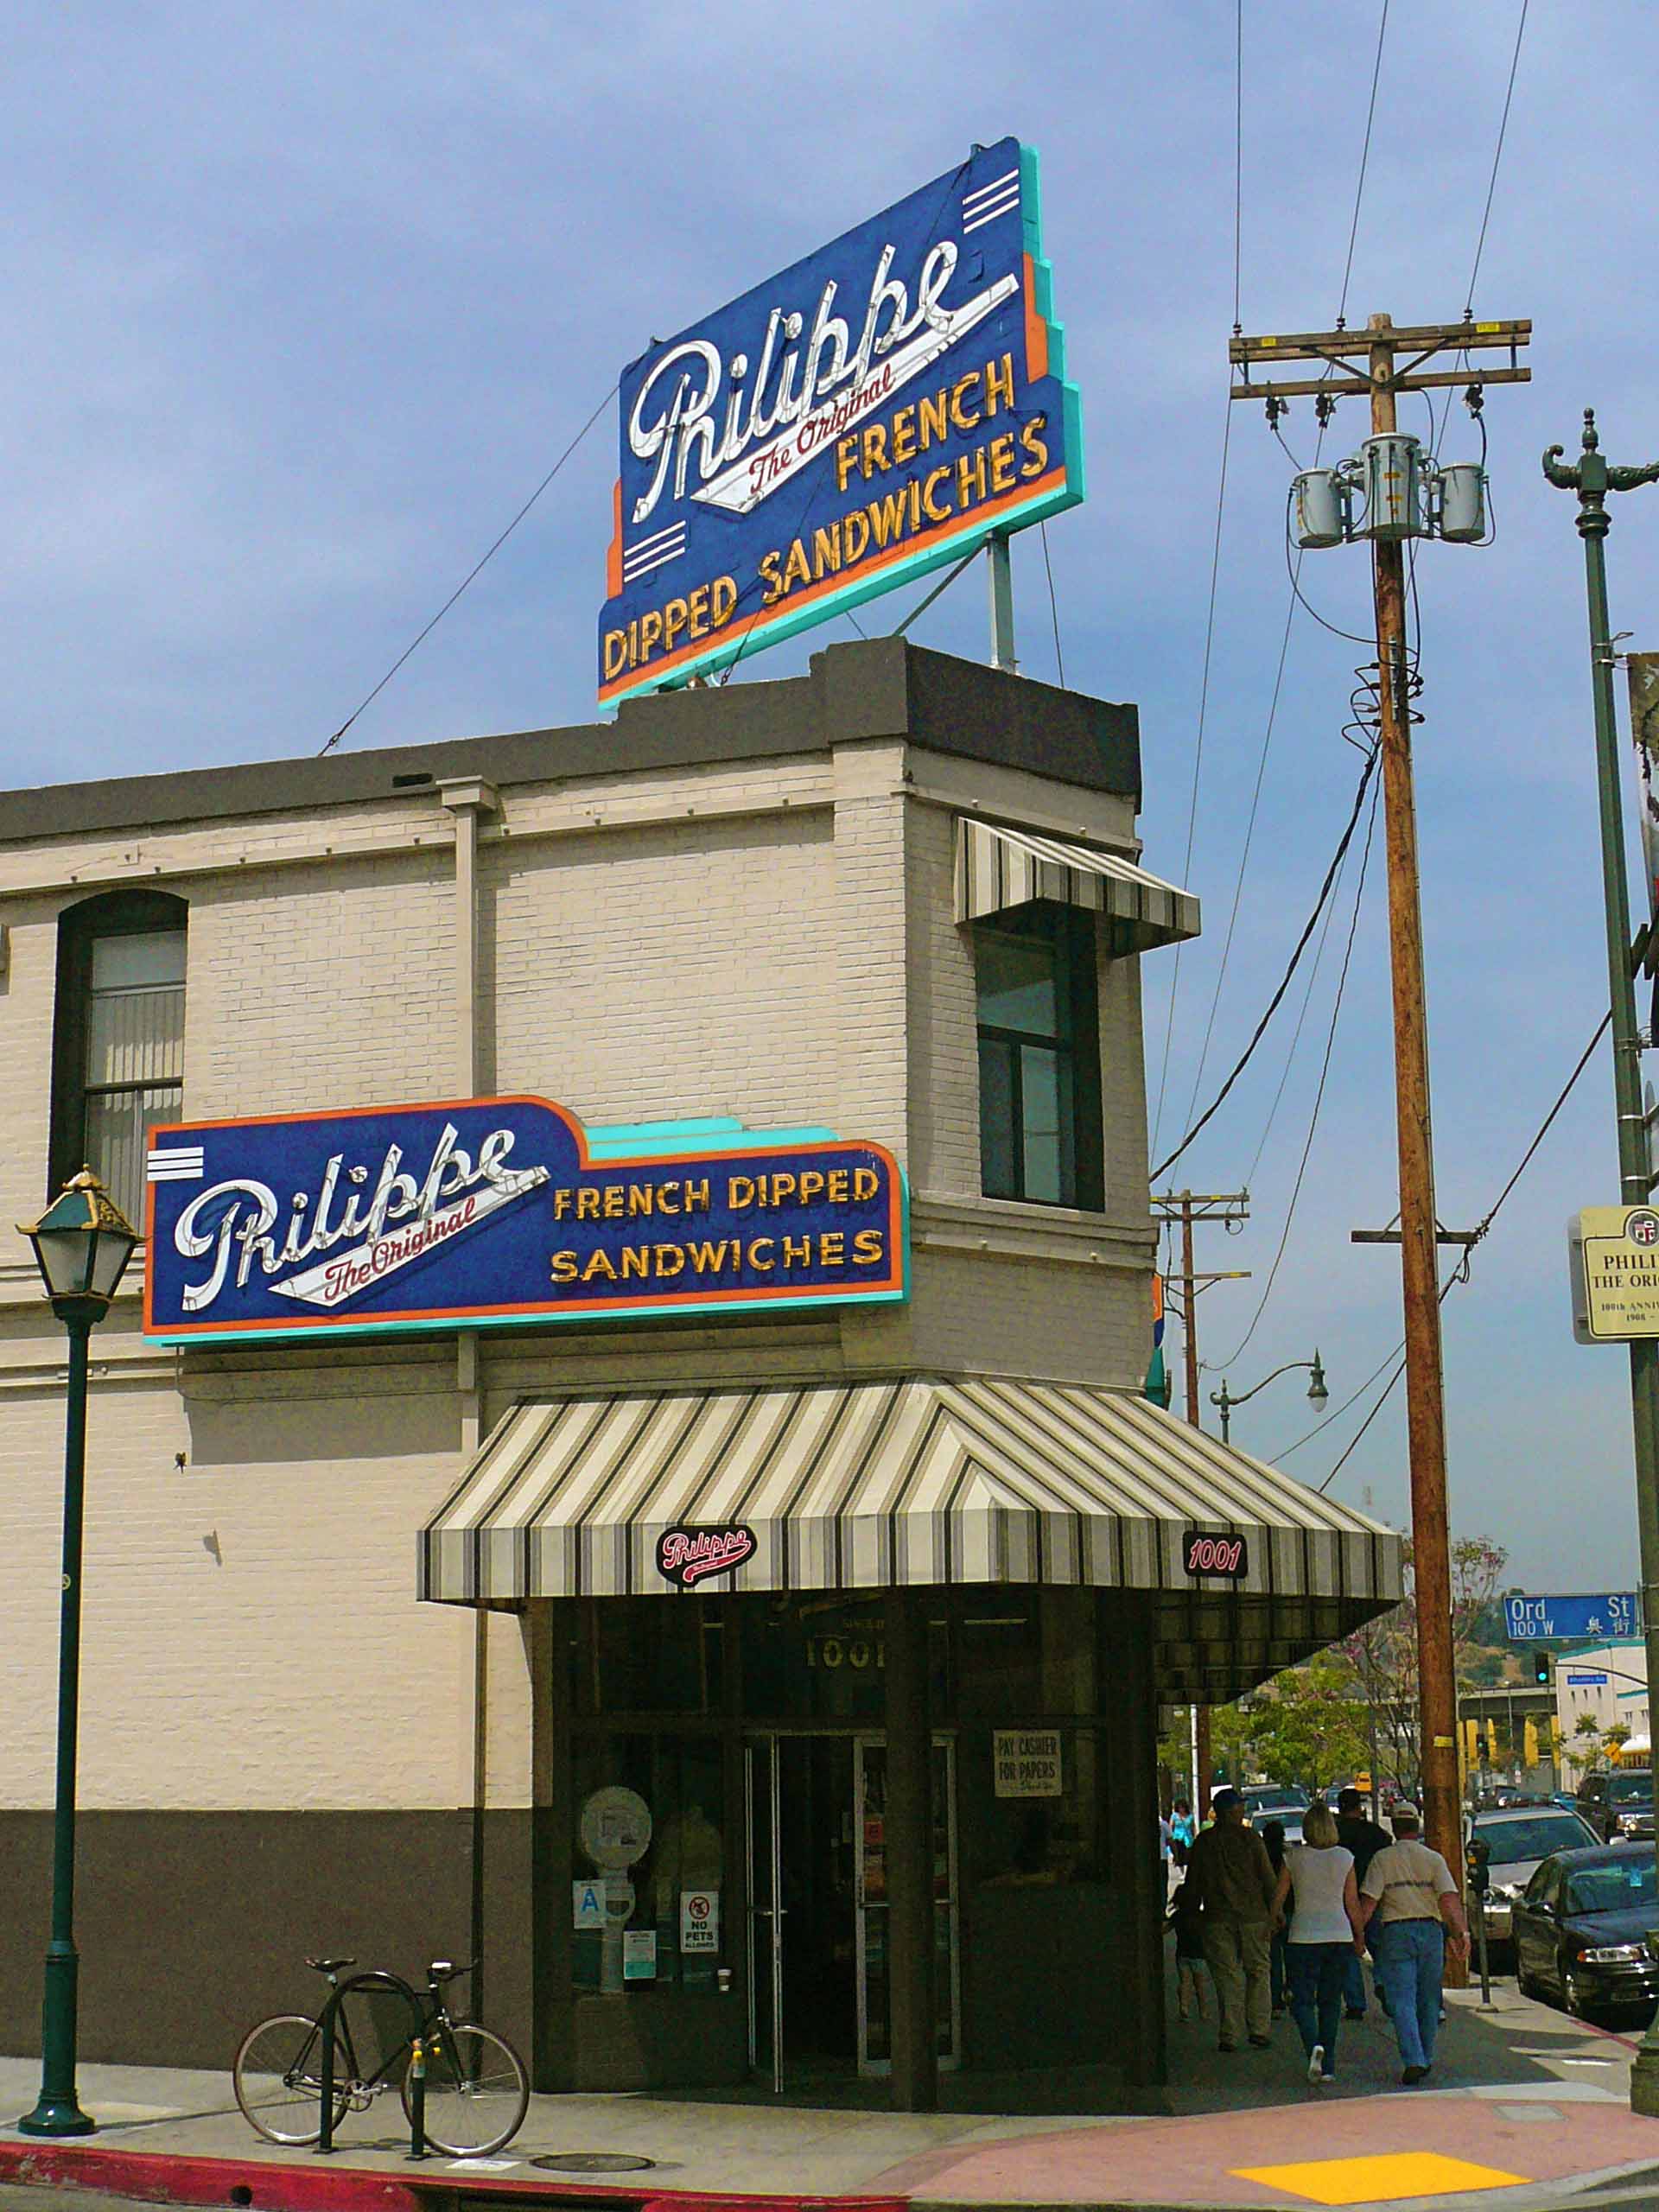
Just a few blocks from — and almost within sight of — Union Station is Philippe – The Original, the birthplace of the French dip sandwich.
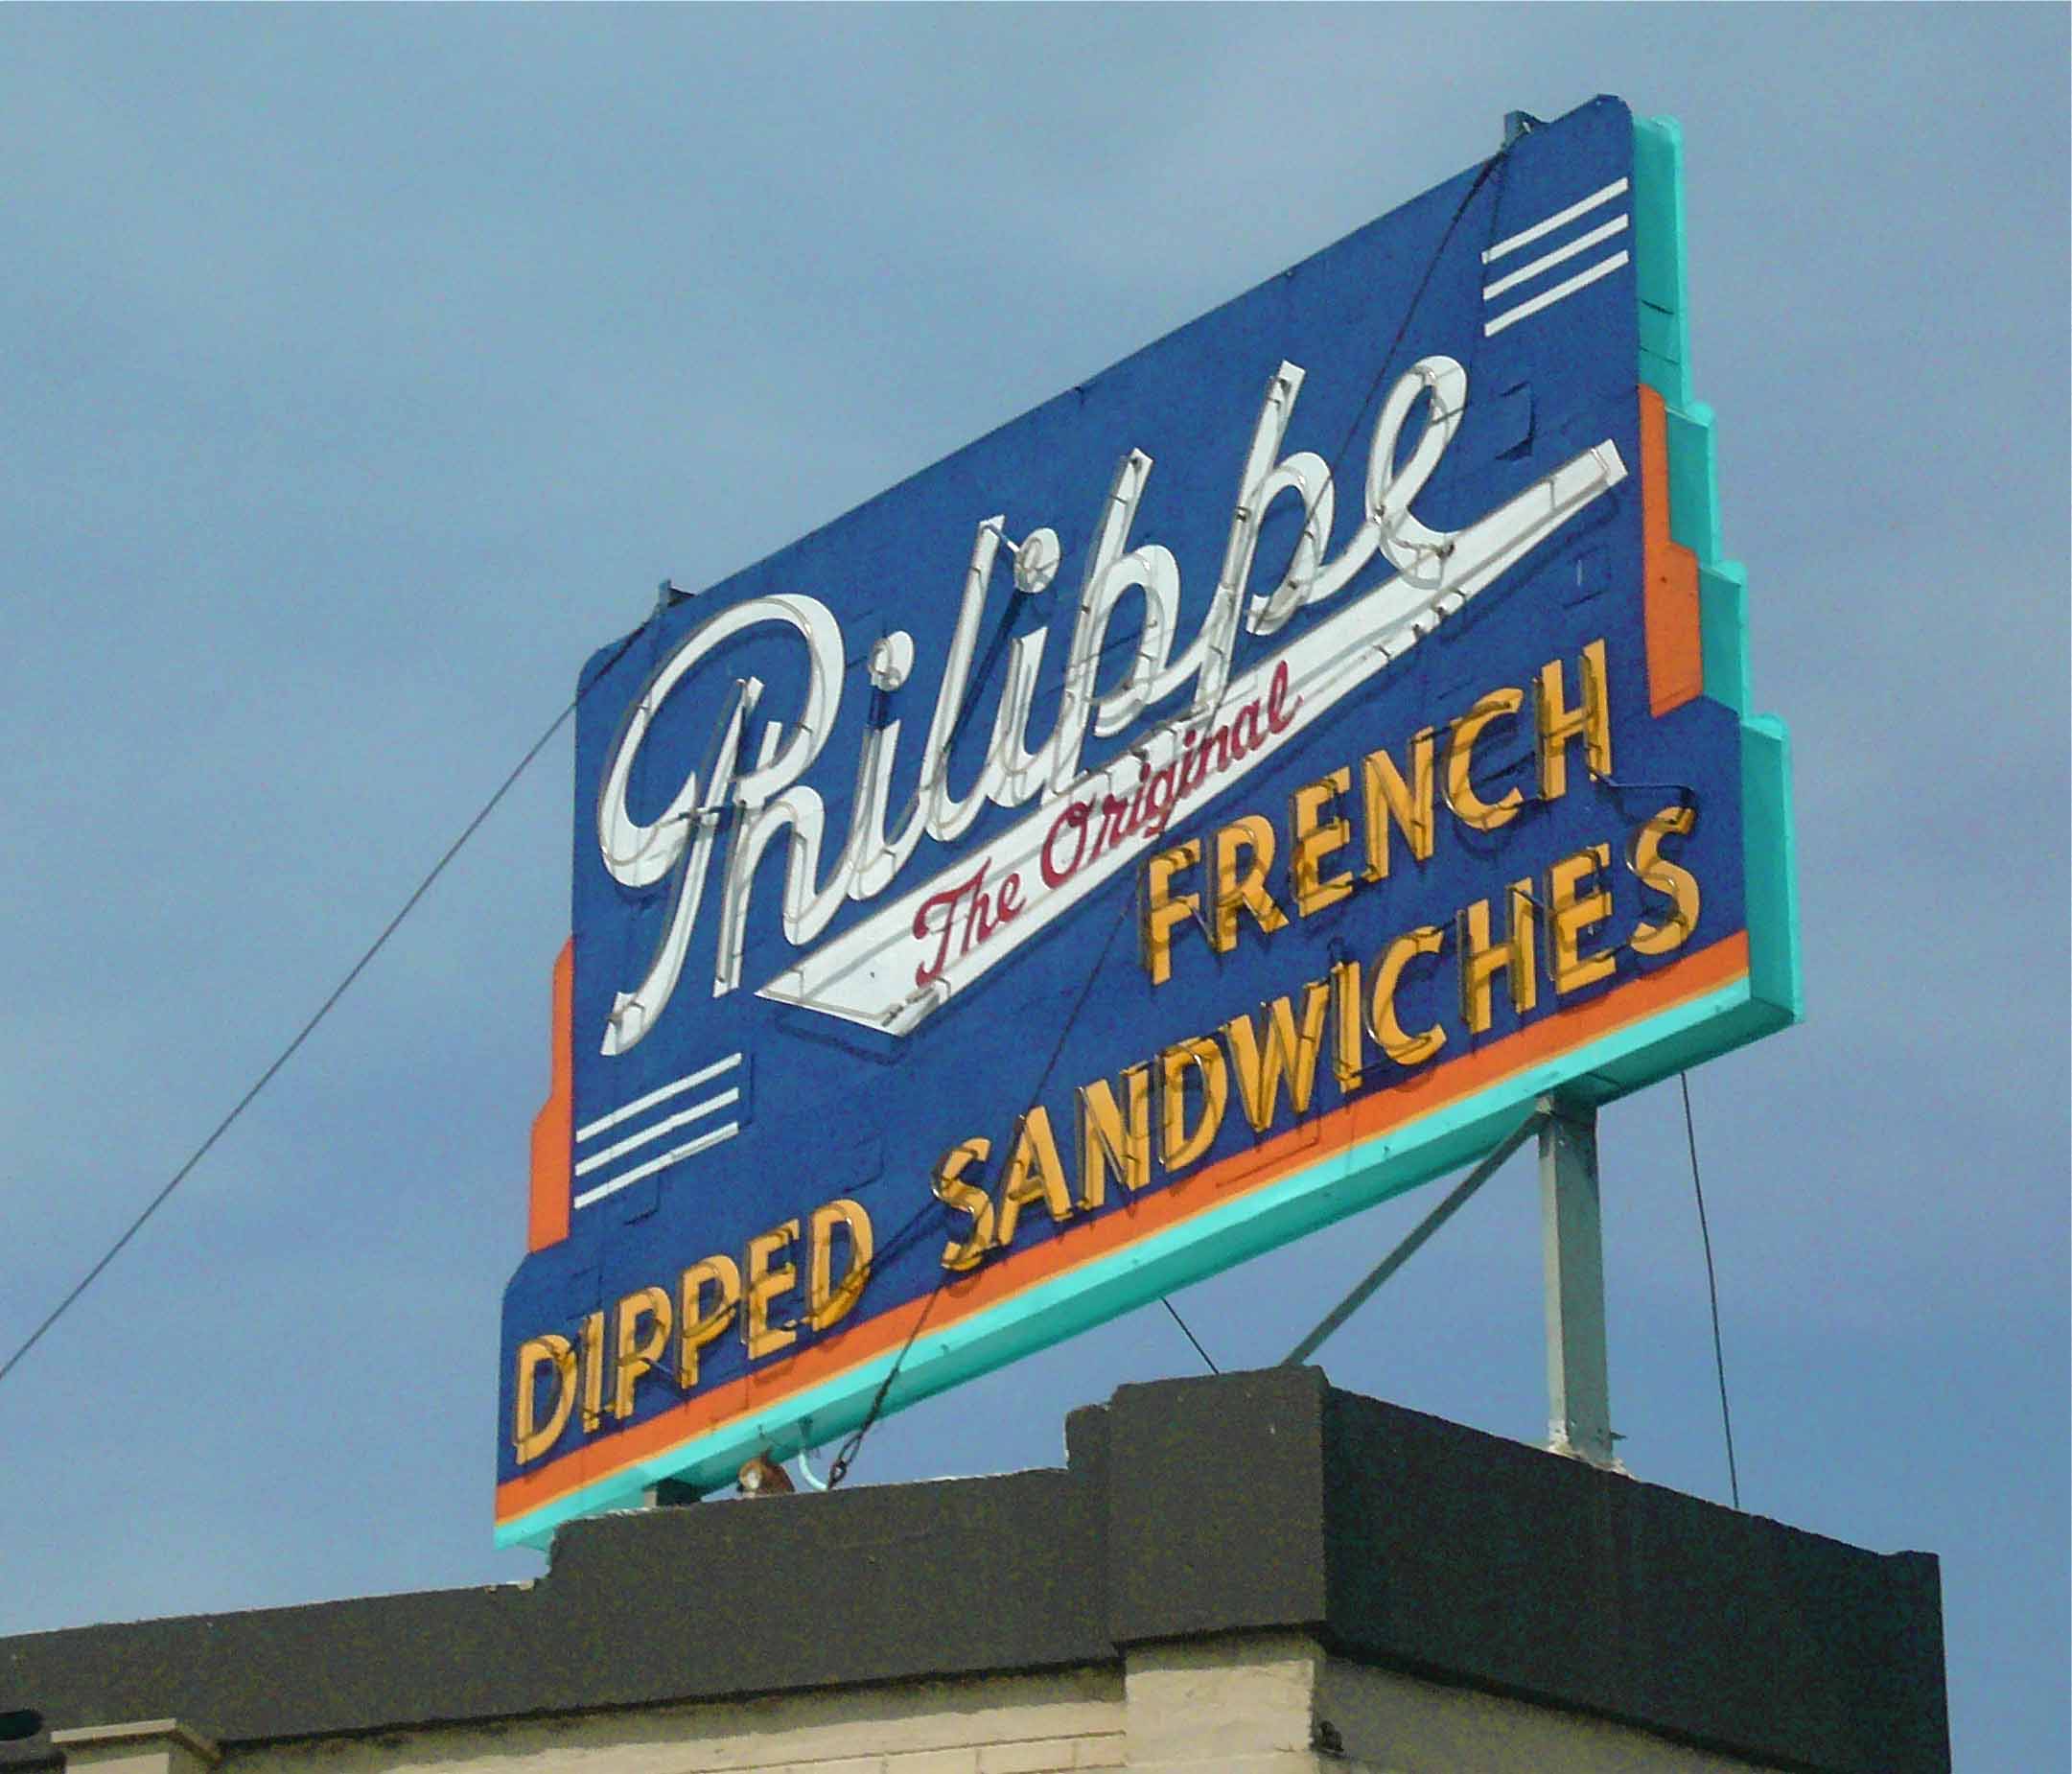
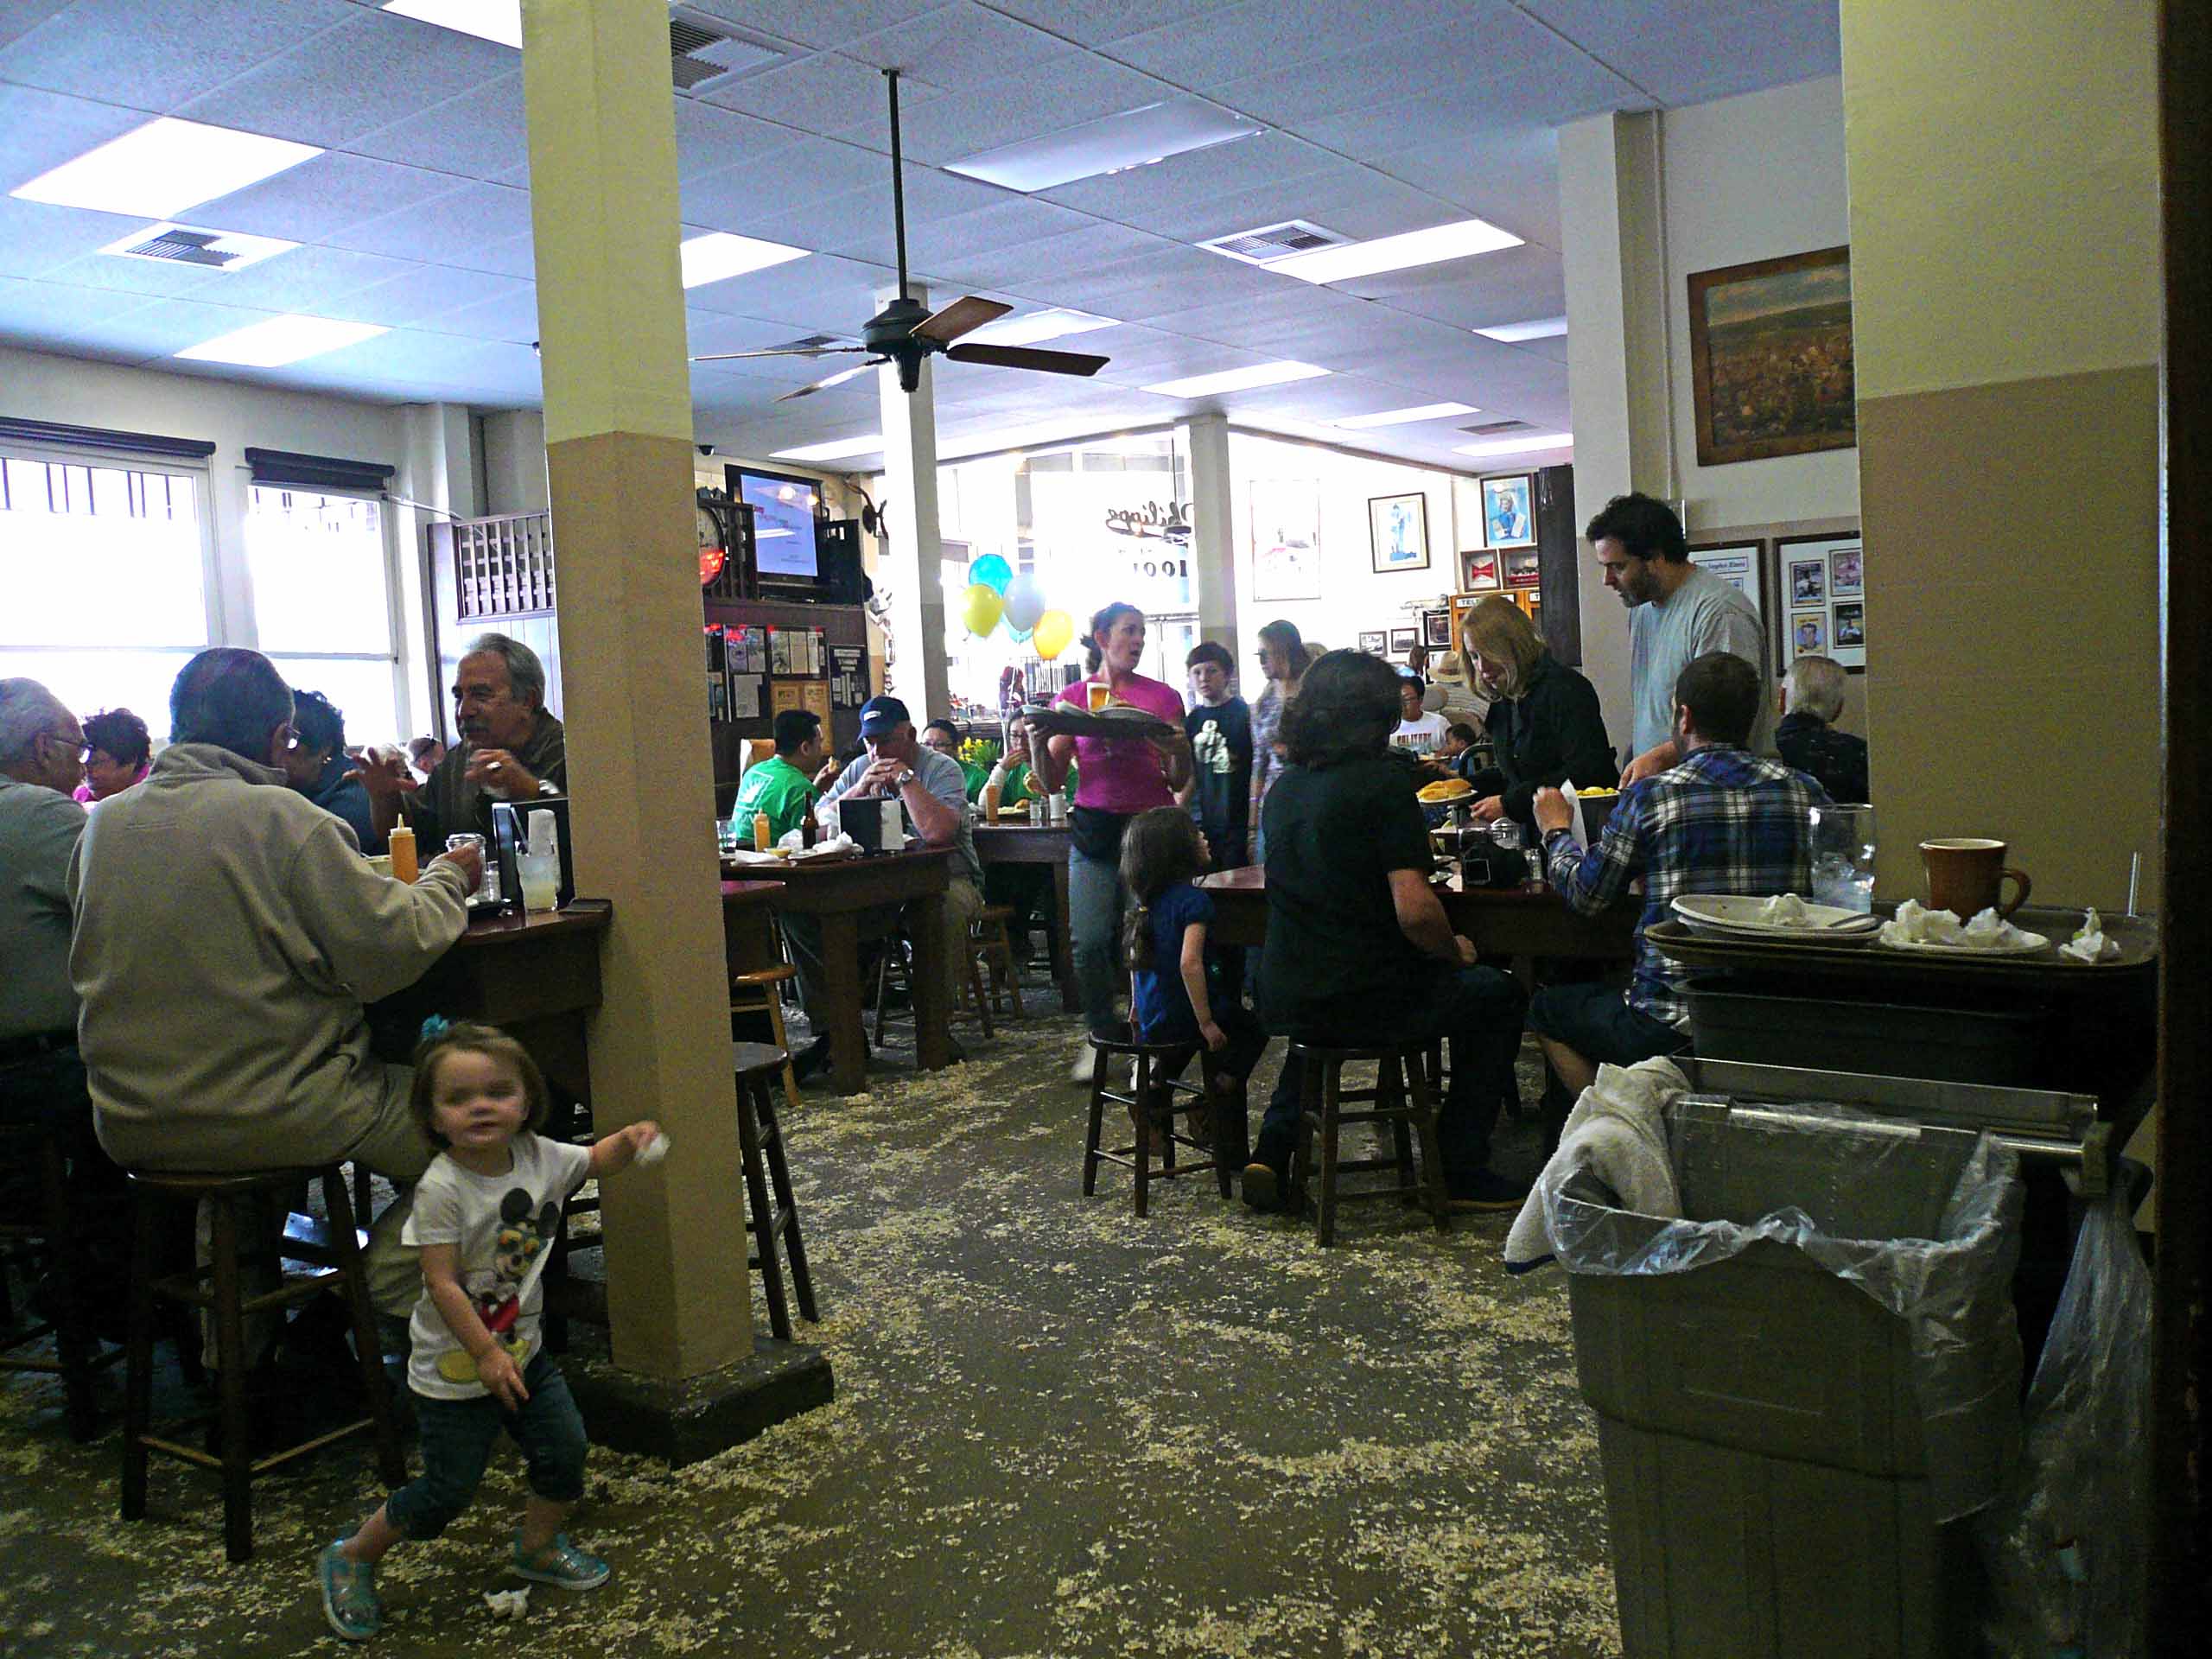
Founded in 1908, this place is a culinary landmark. The current location dates from the 1950s, and is a retro-quaint step back in time. From the long lines of waiting customers, old hand-painted signs, sawdust-strewn floors, and 1930s-uniformed servers behind the counter, you know it’s gonna be good.

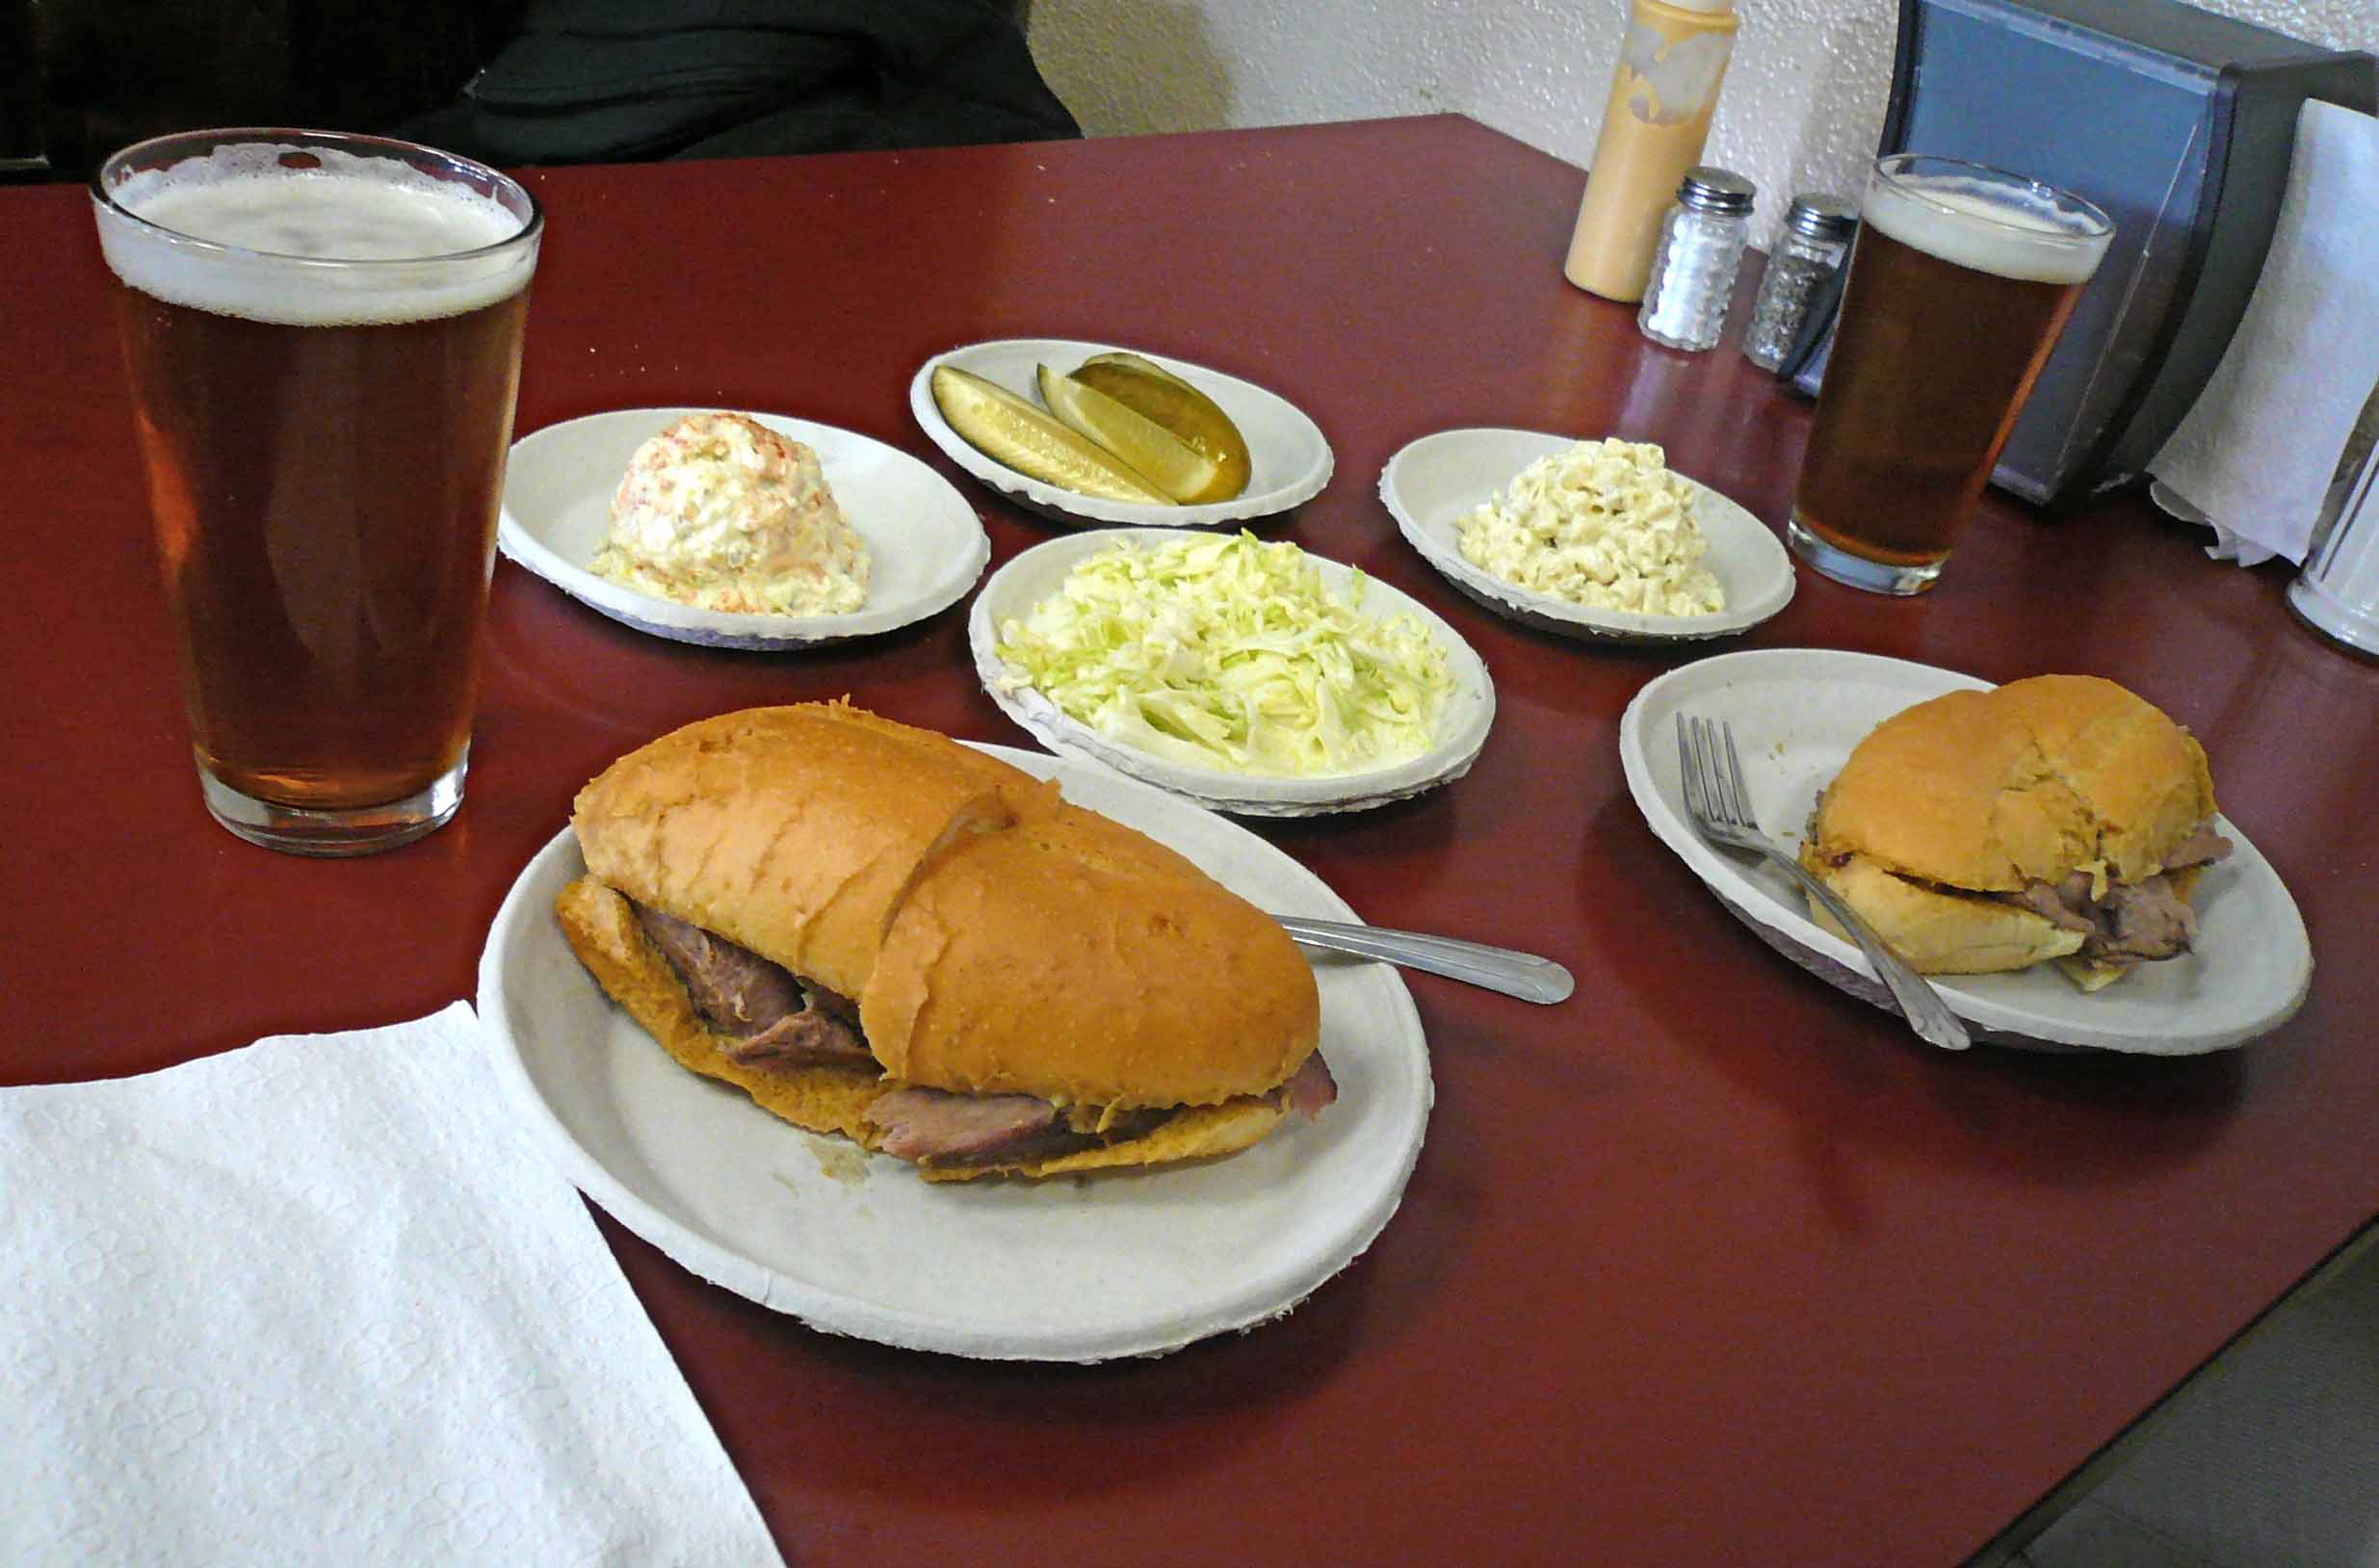
The beef dip was pretty good, not great (tender, but grey meat). The lamb was better. I’ve had tastier French dips elsewhere. It was, however, worth the trip!
A nice little day trip. Sufficiently fortified, I was now ready to tackle this beef-and-potatoes dish from the Alinea Restaurant cookbook!
Day Three – The Garnishes
Anchovy Strips
Anchovies (family Engraulidae) are used in A1 and Worchestershire sauces, thus their inclusion as a flavor component in this recipe. If you look closely at the pictures in the cookbook, the anchovy strips appear to be white anchovies, or boquerones, though the recipe just says “anchovies.”
I had purchased two cans of regular ol’ brown anchovies at North Park Produce (3551 El Cajon Blvd, San Diego, California 92104, 619-516-3336). The first can I used for the Anchovy Butter the day before. The second can was for these strips.
White anchovies can be less salty, packed in a white vinegar brine as opposed to the brined brown packed in oil.
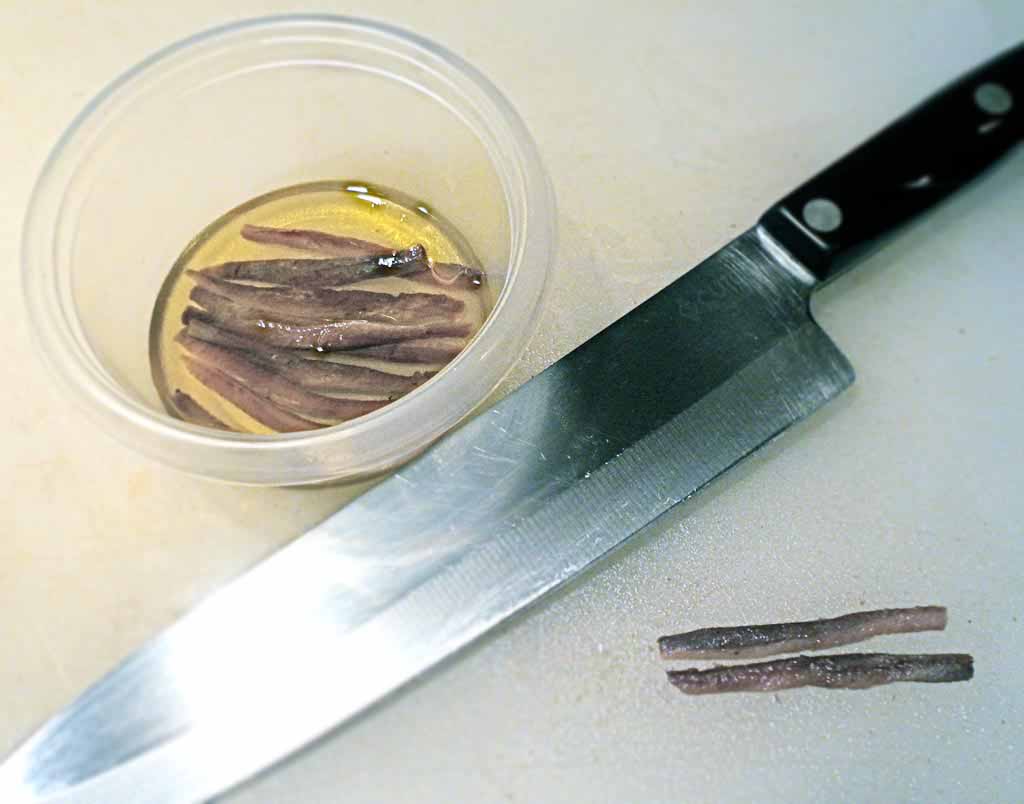
Opened the can and drained the fillets. Then cut up in thin strips. Reserved in olive oil in a small plastic container in my prep area.
Ingredients
Martel anchovies, from North Park Produce
Olive oil
Tomato Chips
I got some fresh Roma tomatoes at North Park Produce. I like using Romas as they’re firm, not too meaty or too big. They should be perfect for these chips. I cut an “X” in each end (stem and blossom) of each tomato, then parboiled for about a minute to loosen up their skins. Then plunged them into an ice bath to cool. Don’t want to cook ’em, just loosen up their skins.

This makes them extremely easy to peel, while not wasting any of the flesh you might remove if trimming with a paring knife.
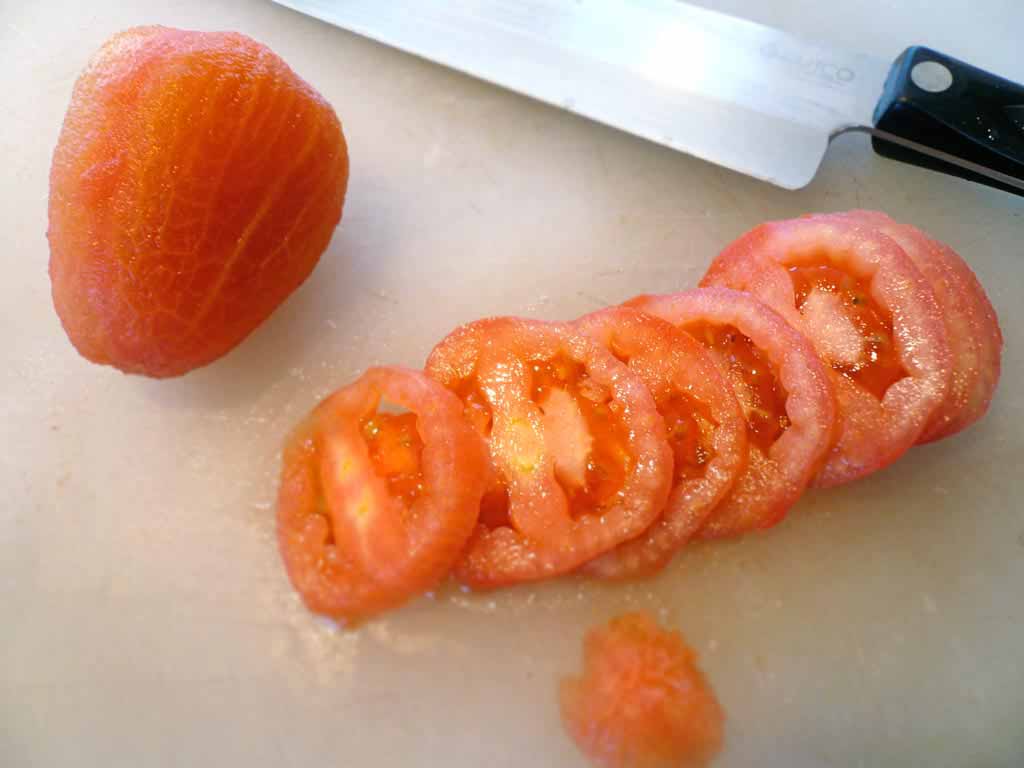
Cut up in thin slices.

Then dehydrated for about 3 hours at 140ºF. After they were crispy, I reserved to a small, covered plastic container in my prep area.

Ingredient
Fresh Roma tomatoes, from North Park Produce
Garlic Chips
This is the same component recipe used in DRY SHOT, Red Pepper, Garlic, Oregano.
I peeled a large head of elephant garlic (Allium ampeloprasum). It’s an extremely large, milder flavored garlic, found easily in most supermarkets now. Then I measured out some skim milk.
Mise en place:
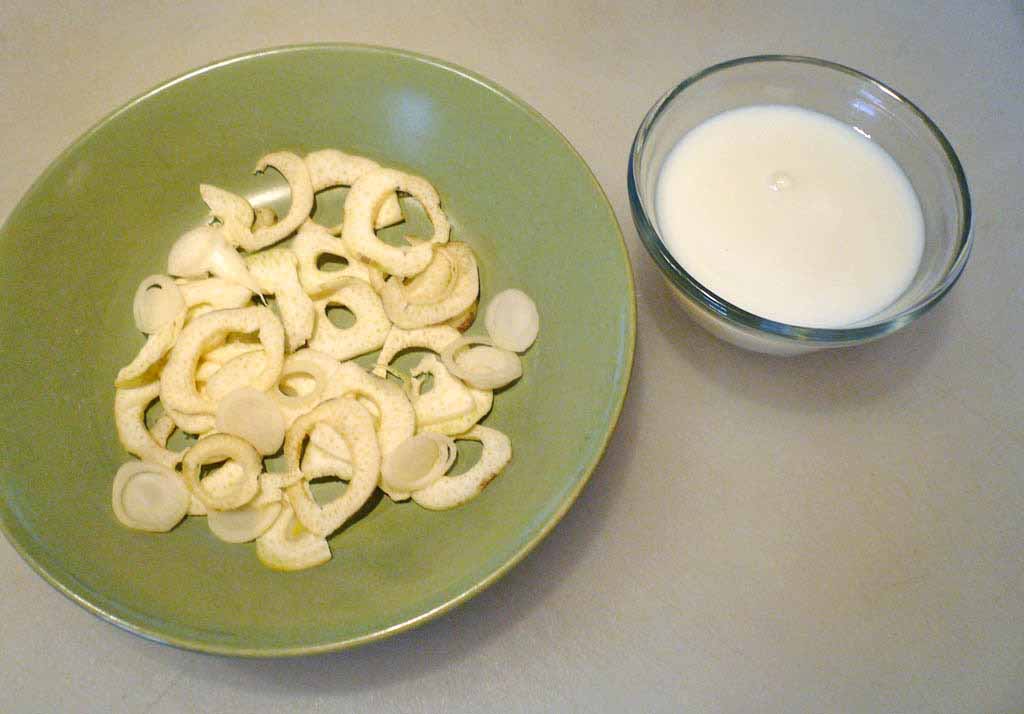
Using my electric meat slicer, I sliced the cloves as thinly as I could, then soaked in a bowl of skim milk.
Why do you soak garlic in milk?
It removes the strong enzymes in garlic called alliinases thus keeping the garlic flavor, but not the heat. Thanks for the link, Karen!
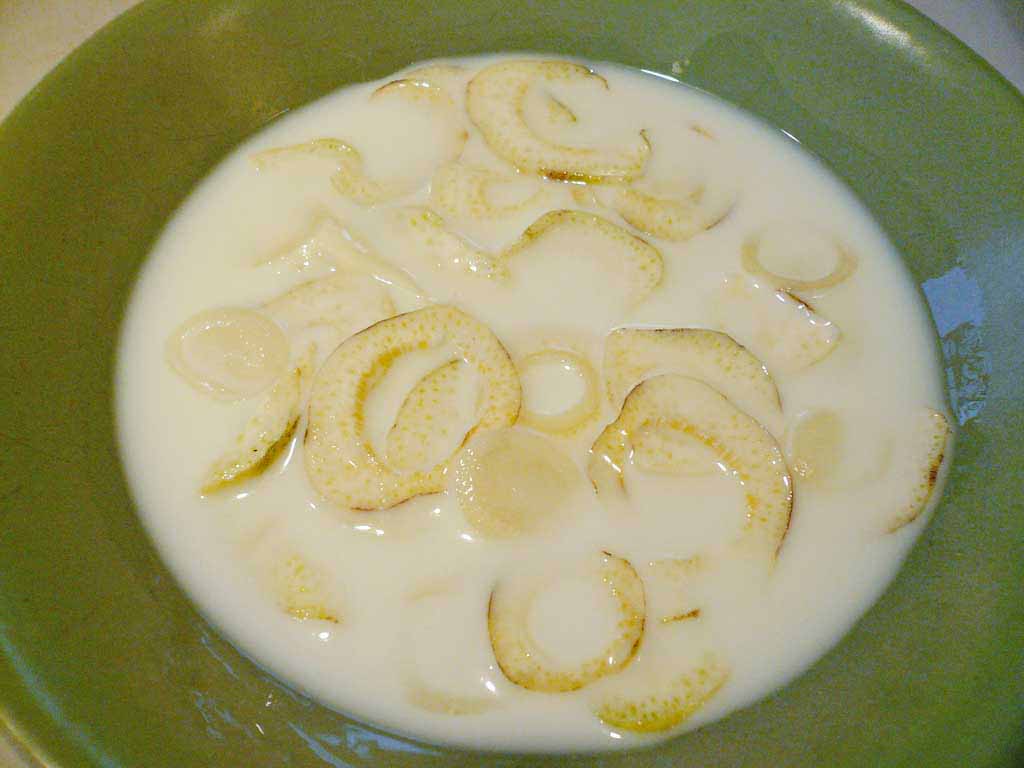
Taking this a step further, let’s extract as much of the heat out of the garlic as we can.
I added some more skim milk and the garlic slices to a small saucepan and brought to a boil, then strained.

Boil. Strain. Repeat.
I put them on a tray in the dehydrator for about three hours at 140ºF, sprinkled with just a touch of salt, and dehydrated for about 3 hours, until they crisped up.
Then reserved to a covered plastic container in my prep area.
Ingredients
Elephant garlic
Alta-Dena skim milk
Diamond Crystal kosher salt, to taste
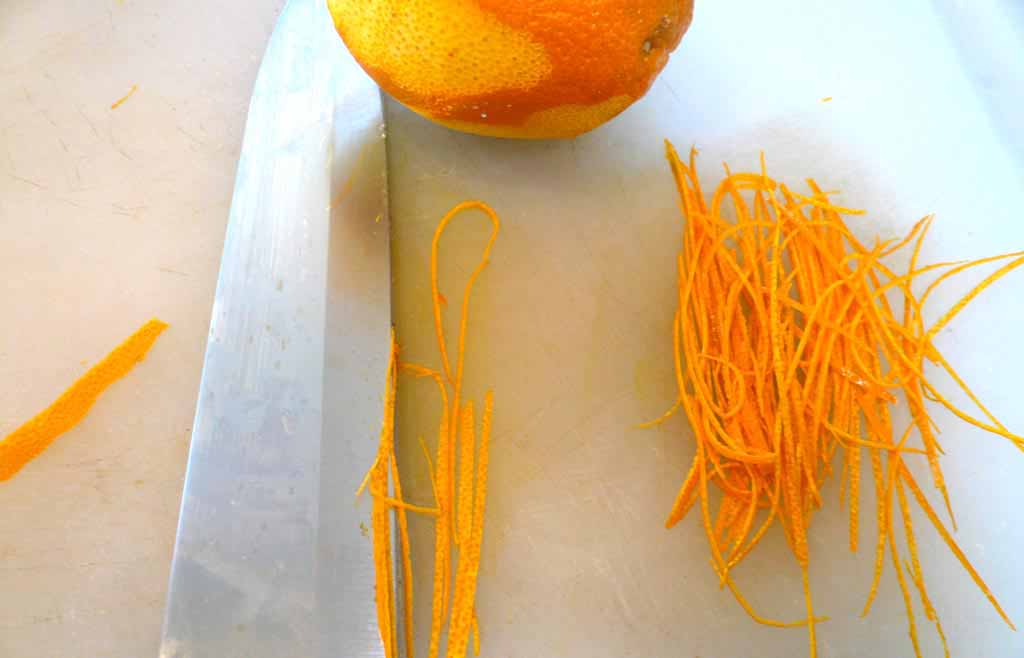
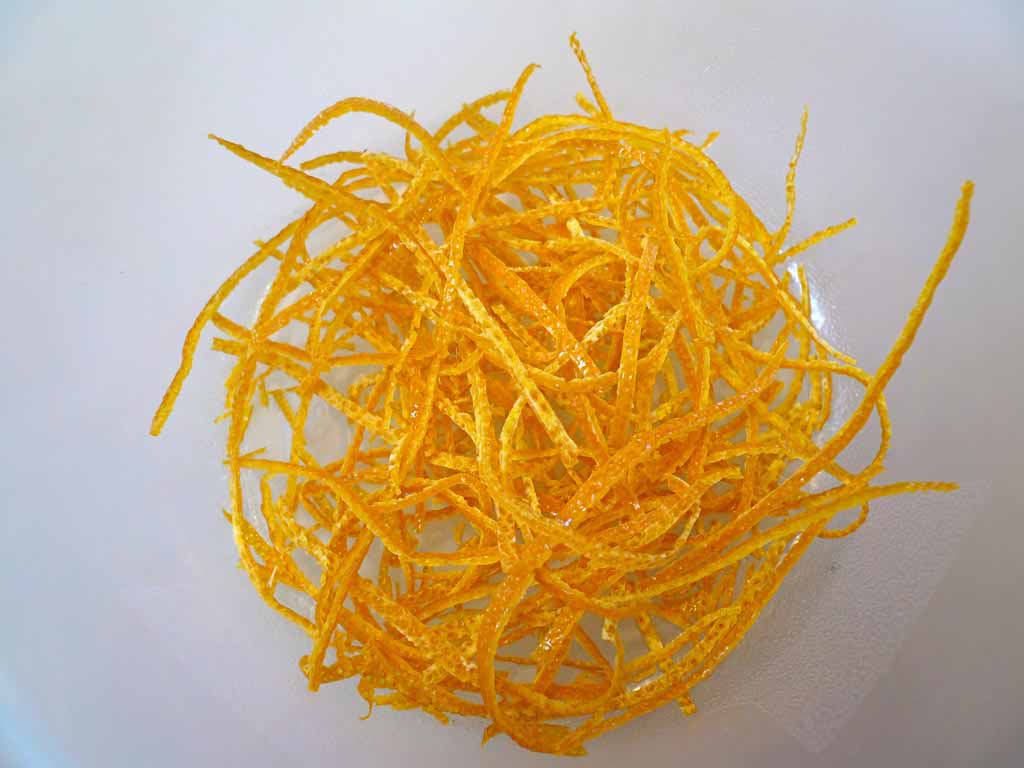
Dried Orange Zest
Every week, I get a box of fresh organic produce from a local CSA program from Sage Mountain Farm and De Luz Farms. In the mix this particular week were some nice Clementine oranges. I peeled off just the zest in as large pieces as possible, then sliced them into teeny-weeny strips.
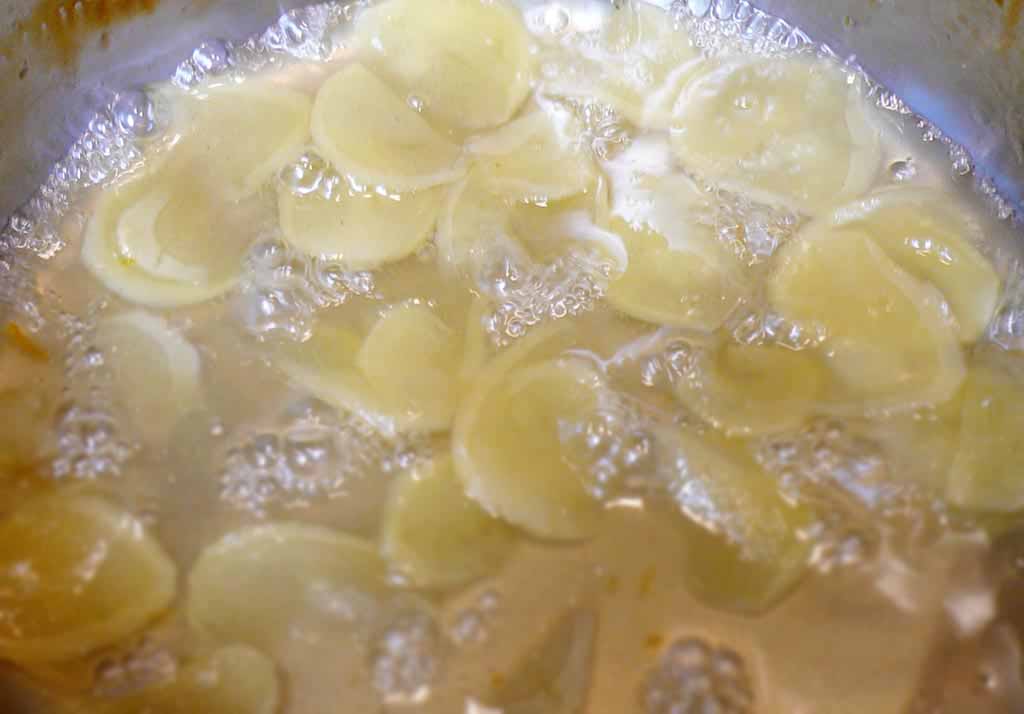
Simmered in a simple syrup until they started going translucent.
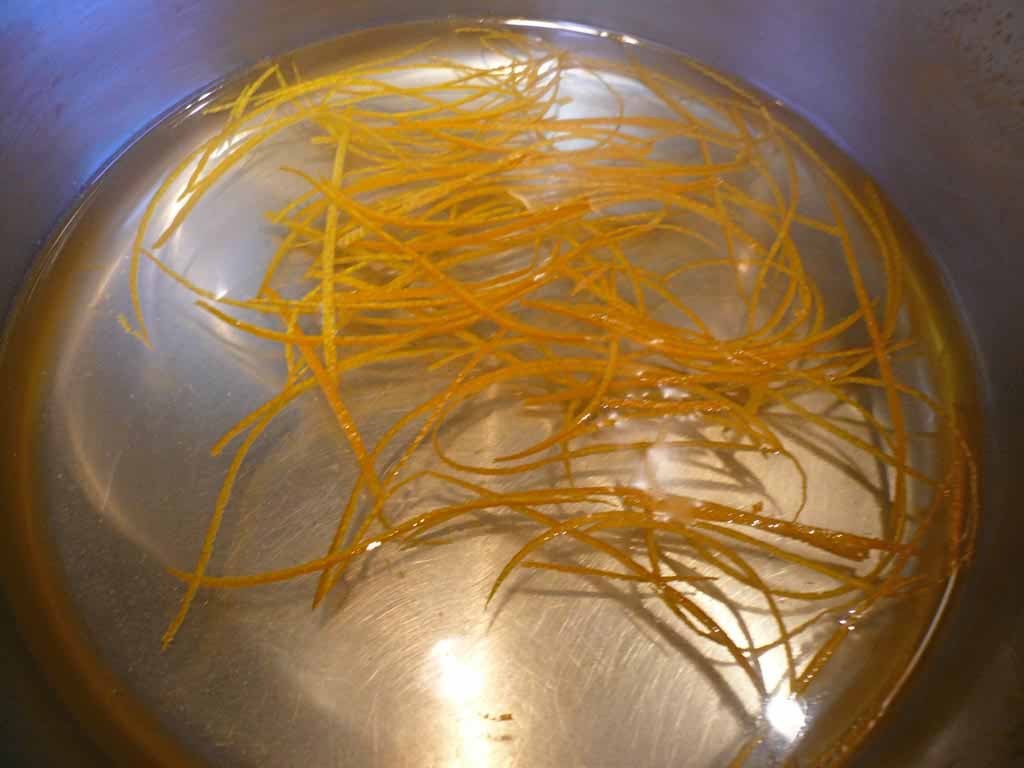
By the way, don’t throw away the leftover boiling liquid… You have in your pan a perfect batch of orange syrup. I suggest (as Sandra Lee would undoubtedly approve) you make cocktails! This particular batch, I drizzled on fresh De Luz Farm strawberries in the morning.
“Cocktail time!”
Then dehydrated the zest strips in my American Harvest dehydrator at 140ºF for about 2 hours hours, until they were crispy.

And reserved in a small plastic container.
Ingredients
Clementine oranges, from Sage Mountain Farm CSA
Water
C&H cane sugar
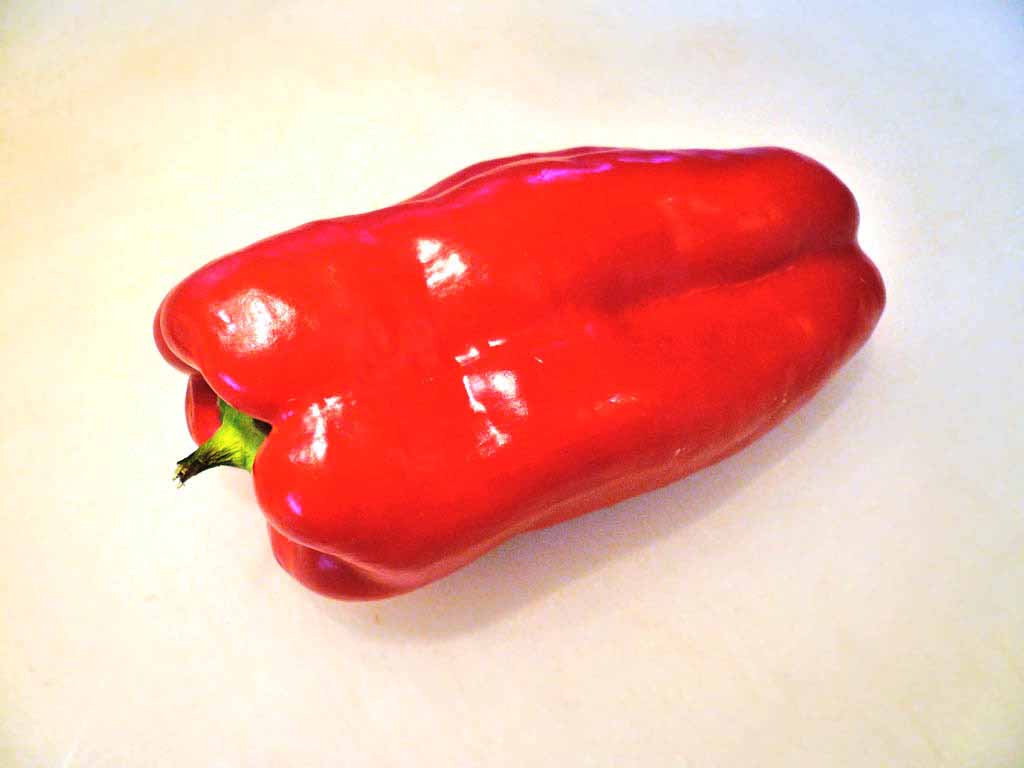
Dried Red Bell Peppers
This is the same technique as used in DRY SHOT, Red Pepper, Garlic, Oregano. Except the ultimate size is trimmed a little different. I cut the ends off a large red bell pepper, removed the seeds, and trimmed into large pieces.
I removed the pith from the insides and the skin from the outsides.
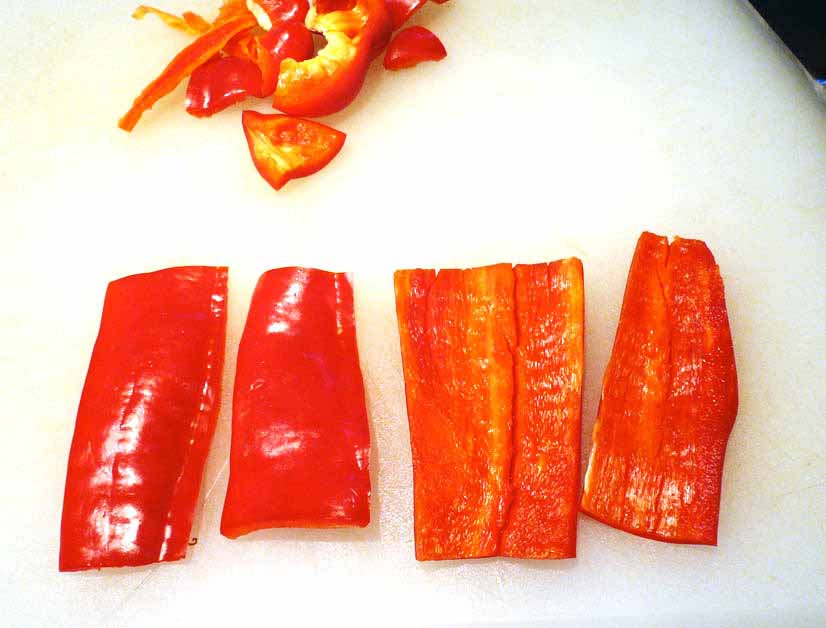
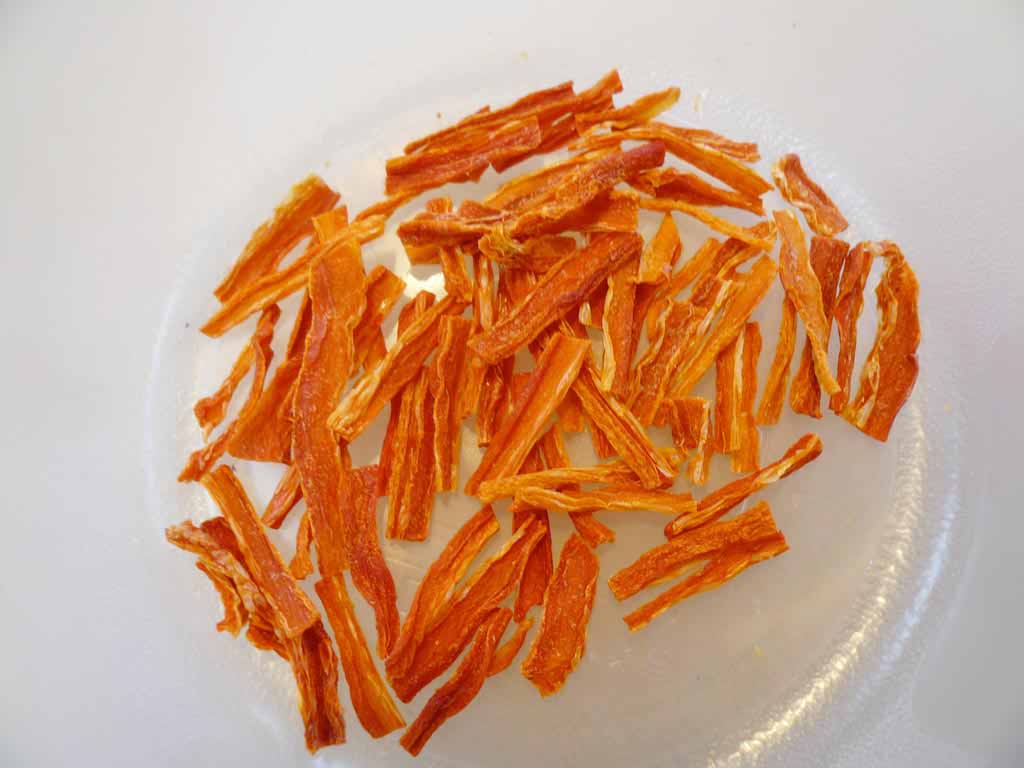
Then I trimmed into thin strips, cut them up in shorter lengths, and dehydrated at 140ºF for about 3 hours hours, until they were crispy.
Peppers shown at top, orange zest at bottom, dehydrated together.
Then reserved in a small plastic container.
Ingredients
Fresh red bell pepper, from North Park Produce
Diamond Crystal kosher salt, to taste
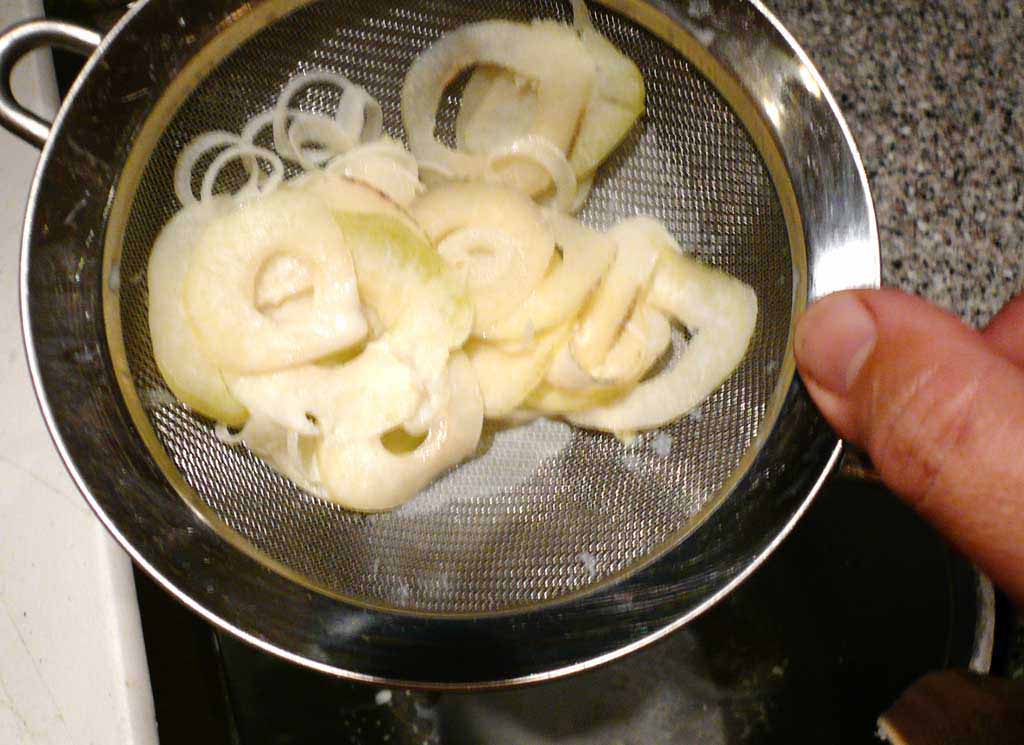
Onion Rings
I peeled and sliced up a yellow onion, saving the outermost, perfect rings.
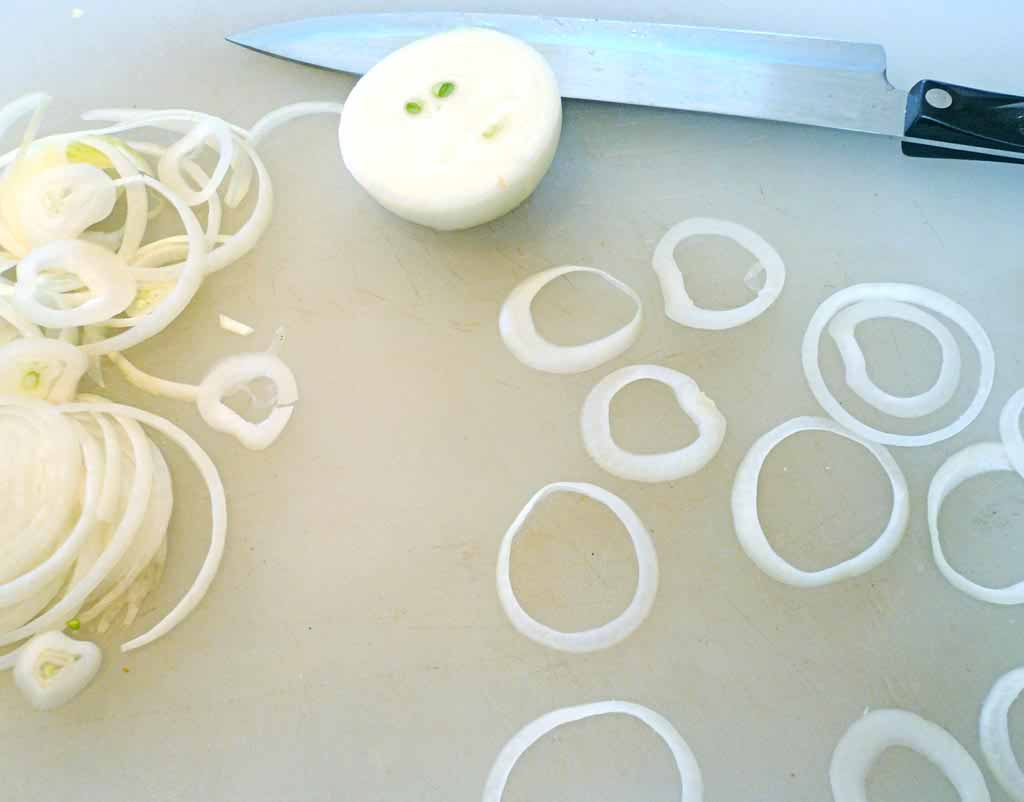
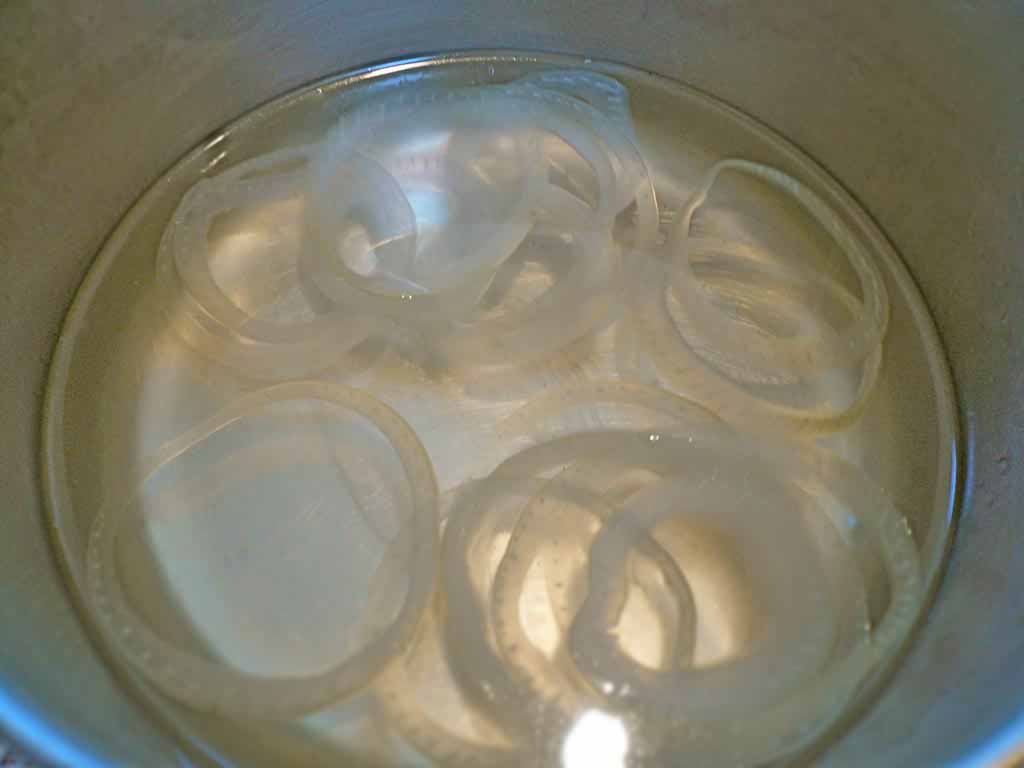
Then simmered in a simple syrup until they started going translucent, removed and drained on a layer of paper towels.
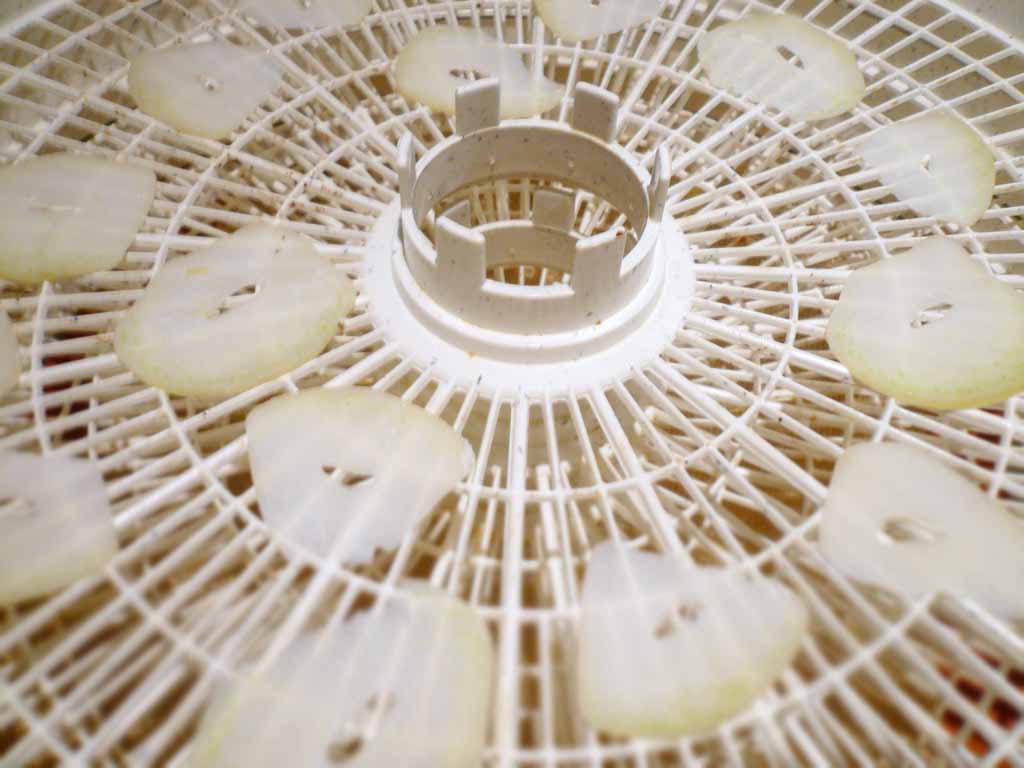
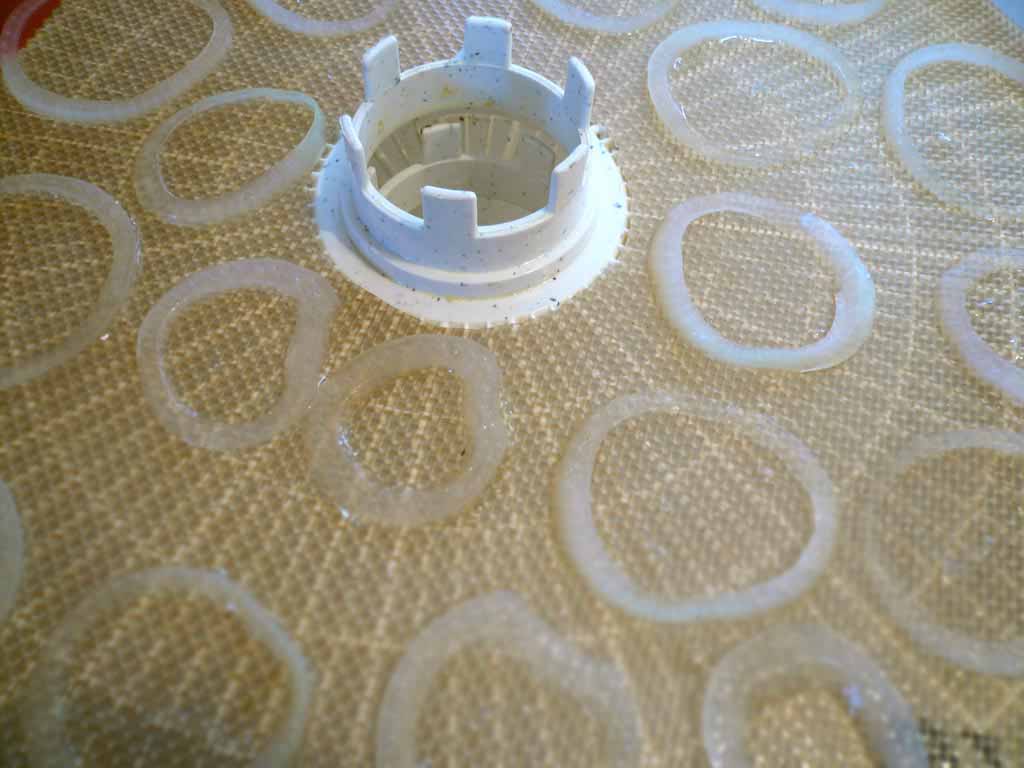
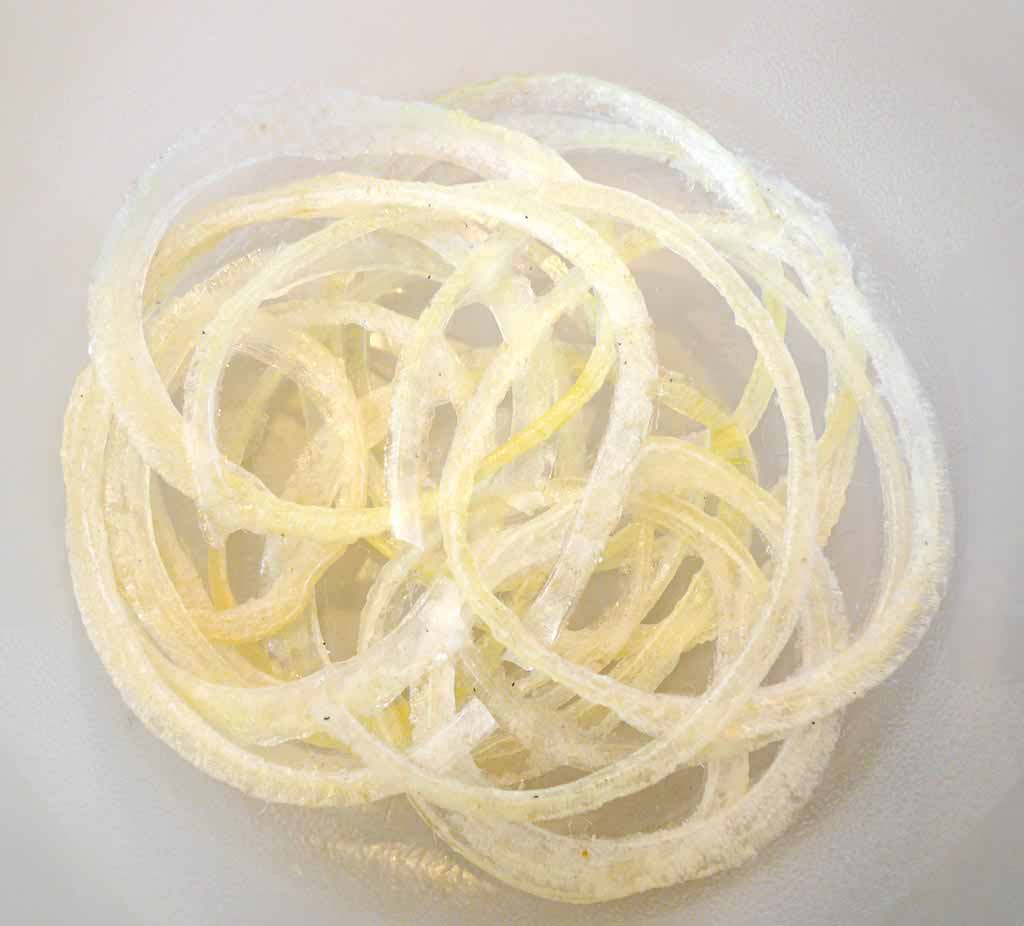
I dehydrated on a silicone mat in my dehydrator, turning them over once, for about 3 hours at 140ºF, until they crisped up.
And reserved in a small, covered plastic container to my prep area.
Ingredients
Yellow onion, from North Park Produce
Water
C&H cane sugar
Ginger Chips
I peeled a hand of fresh ginger, then cut up very thin on my meat slicer. These I simmered in a simple syrup until the began to go translucent. I removed them and patted dry on paper towels. Note: you could also save the ginger syrup for drinks!
I dehydrated them for about 4 hours at 140ºF, until they were crisp and crumbled roughly with a mortar and pestle.
Then reserved in a small, covered plastic container to my prep area.
Ingredients
Fresh ginger, from North Park Produce
Water
C&H cane sugar
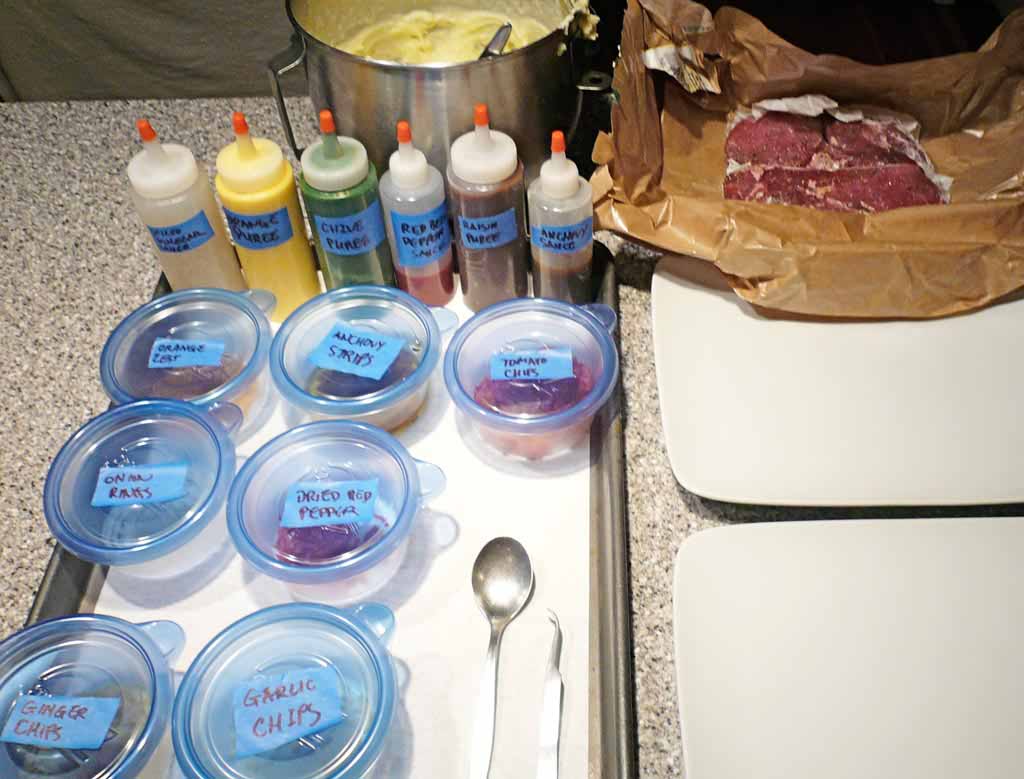
Day Four
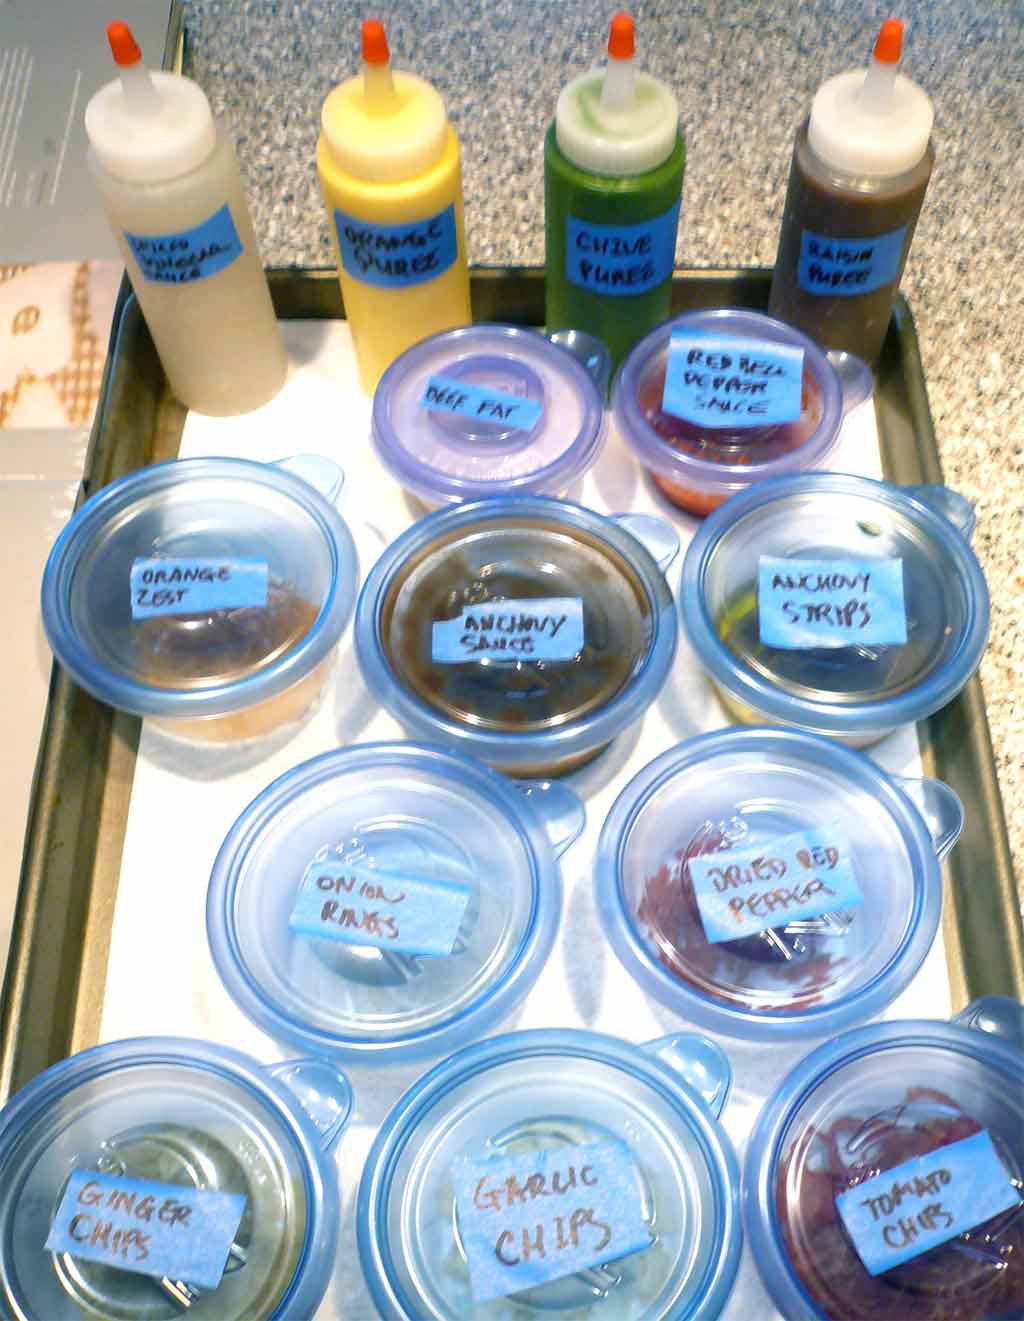
Some of the mise en place:
Potato Strips
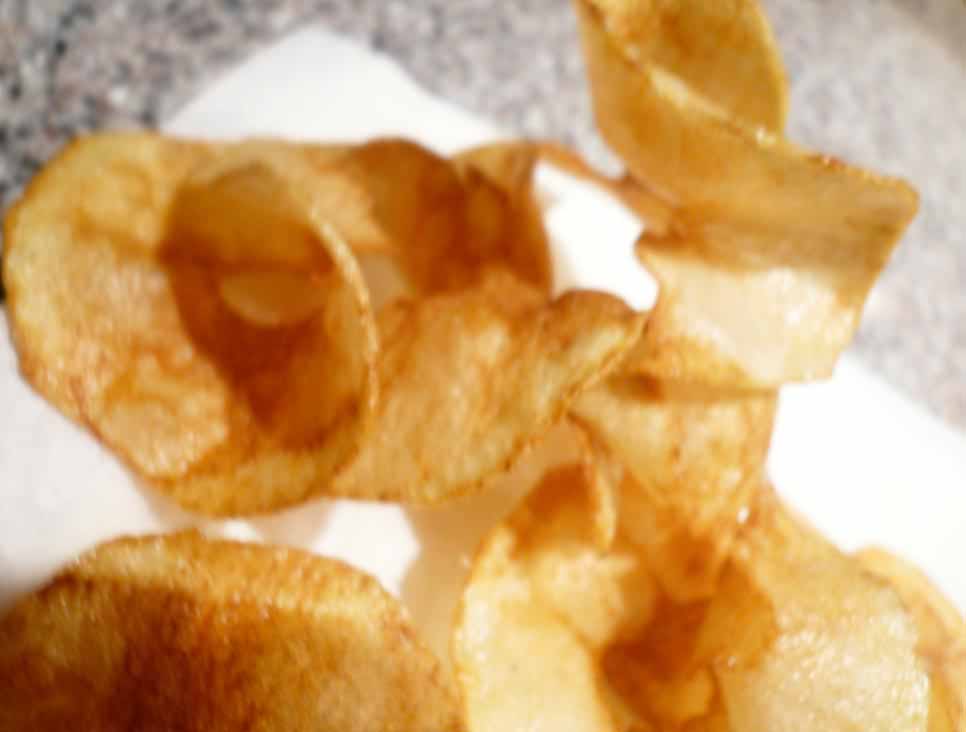
The cookbook says to use a rotary slicer. I have a Japanese rotary slicer, and didn’t think a thing about the instructions — until I tried it.

Crap.
This rotary slicer will give me pencil thin strips or corkscrew-shaped lengths, but will not give me sheets of veggies.

I did later fry these into really-fun-to-eat chips for the kids.
What you really need is a rotary sheet slicer, also called a vegetable sheeter. They’ll actually slice the your vegetable into thin sheets. What we’re looking for in this recipe. They’re also a couple of hundred dollars.
Back to the drawing cutting board…
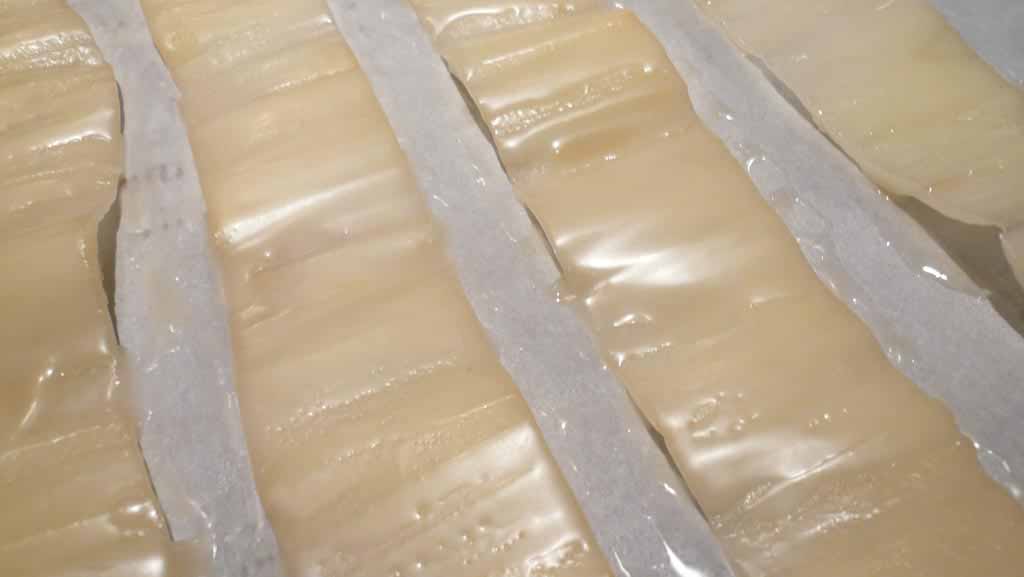
I ended up hand-cutting several potato strips as thinly as I could. Trying to keep them in one piece.
They were acceptable, but not even. They certainly weren’t katsura-maki!
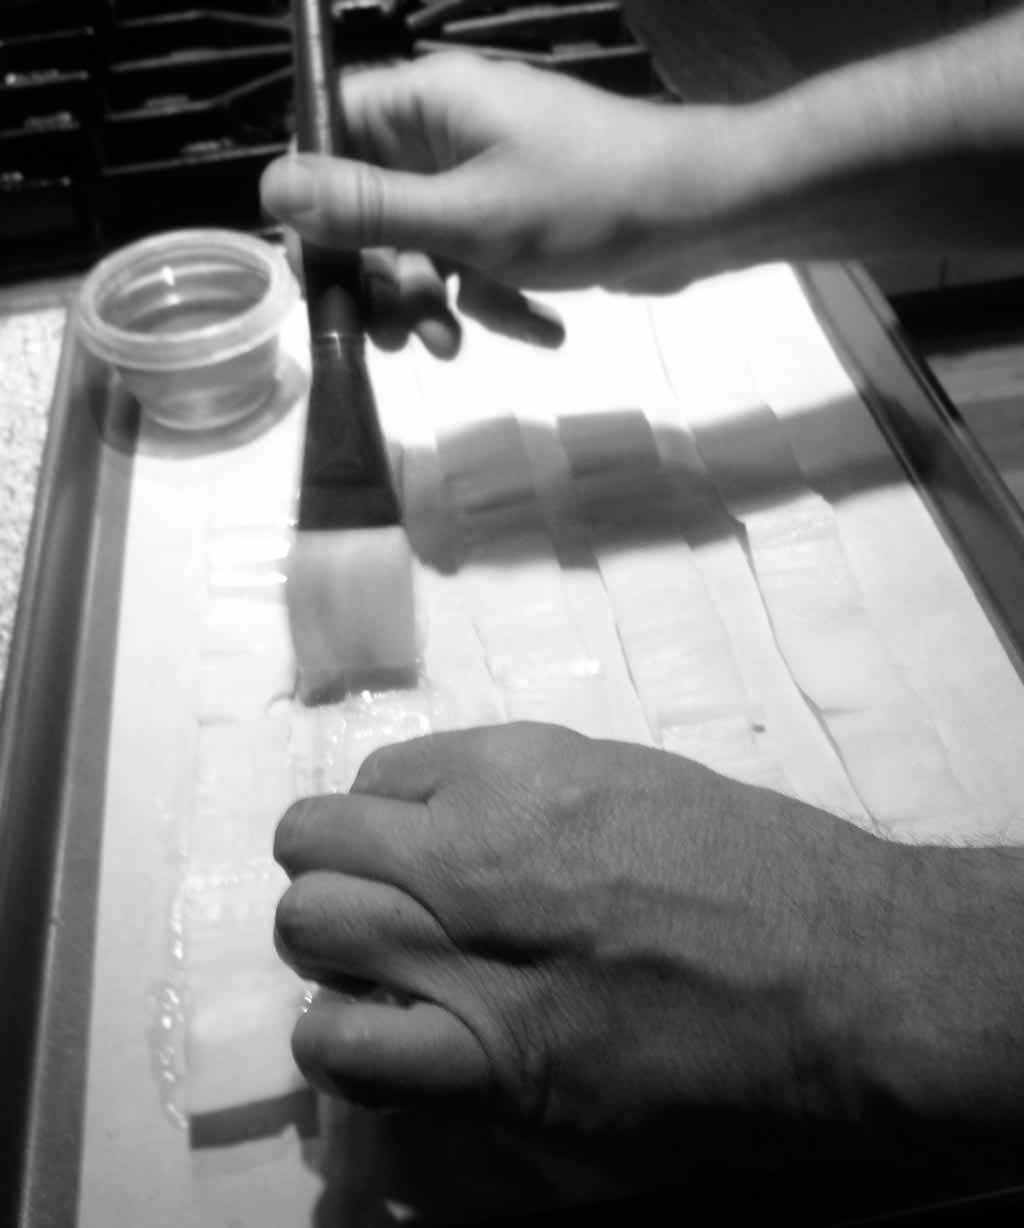
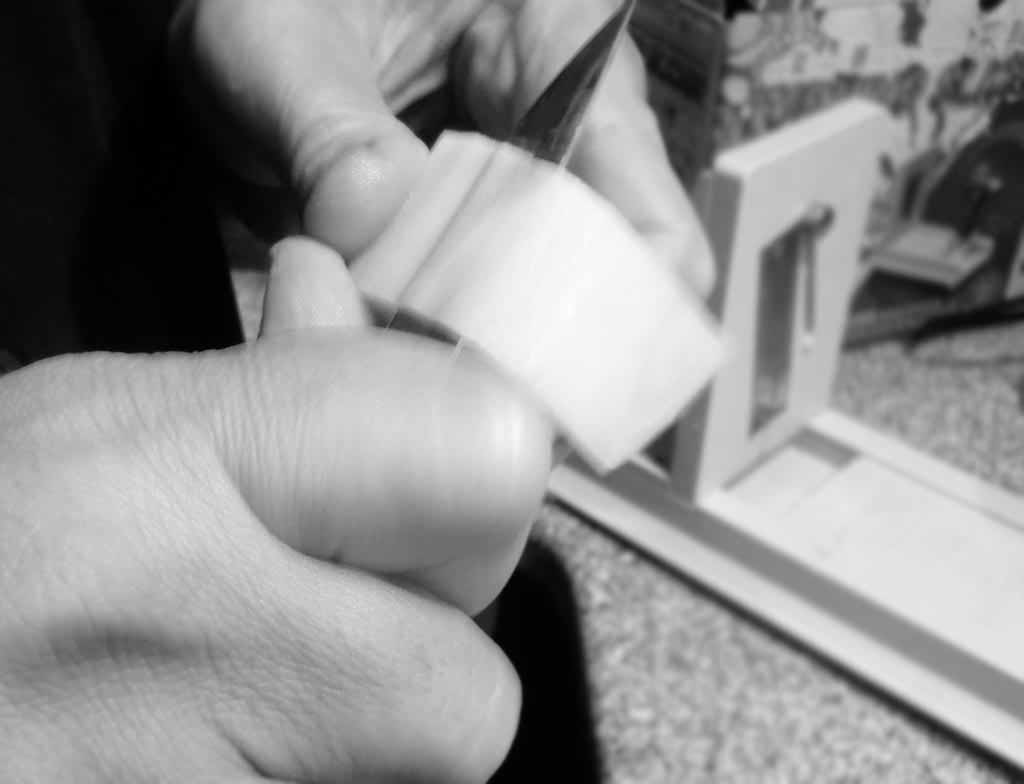
I prepared a sheet tray with a piece of baking parchment, then painted the strips with some of the Liquid Beef Fat from the previous day. You have to keep it warm or it will harden up on you like wax. In this case, I just microwaved it for a bit.

The rendered fat goes on like paint, but hardens up like a coating of wax almost immediately.
It’s a beautiful thing.
Brought a tear to my eye…
I turned them over and coated the opposite sides. Then baked in a low oven for 30 minutes. You want them to cook, but not brown.
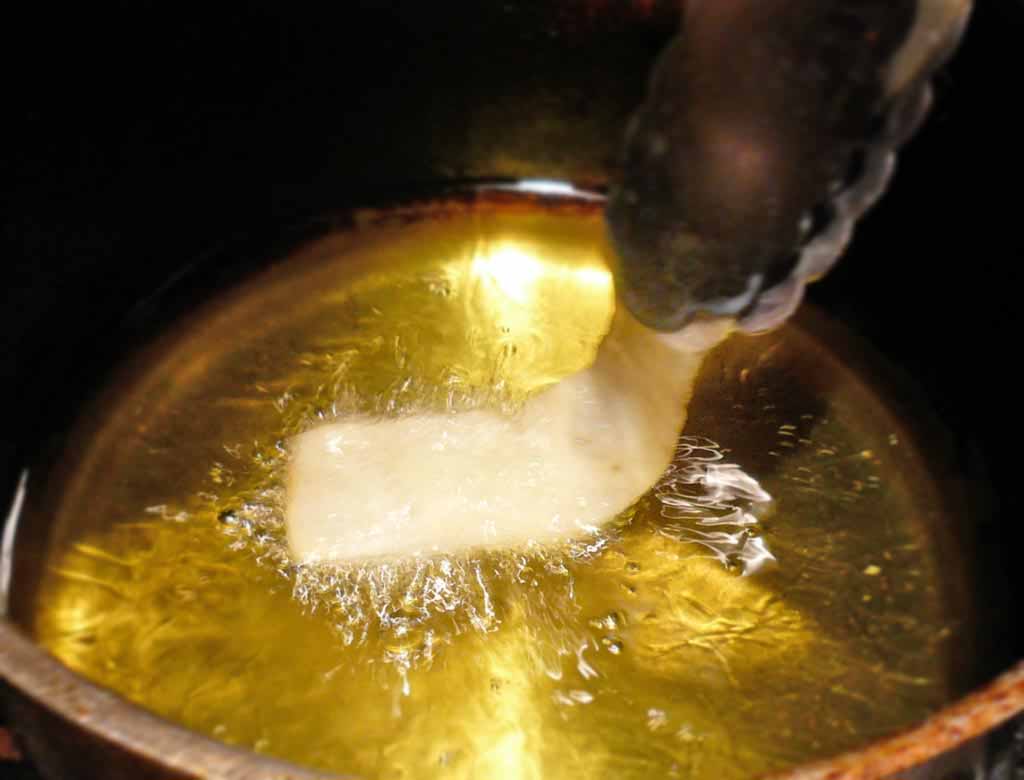
I removed them and patted dry. On each strip, I fried about 3-4 inches of an end in canola oil. This browns one end of the strip. Some of them fell apart. Ya gotta be really careful with these.
It’s cool, ’cause your dinner guests will inevitably ask, “how the hell did you do that?”

I kept the potato strips warm in the oven, and had to plate quickly…
Ingredients
Russett potatoes, peeled, from North Park Produce
Reserved liquid beef fat, from Part 1
Diamond Crystal kosher salt, to taste
Potato Purée
The recipe makes potato purée, rather than the standard mash. It’s meant to be ready, on-hand in the kitchen. Then when it’s time to plate, you heat some up with some more cream, making it a smoother, runnier texture than mashed. That’s why the pics in the book look so perfect.
I made mine mashed, it was quicker for me, and easier to coordinate while I finished the potato strips. And I still had to grill the ribeye.
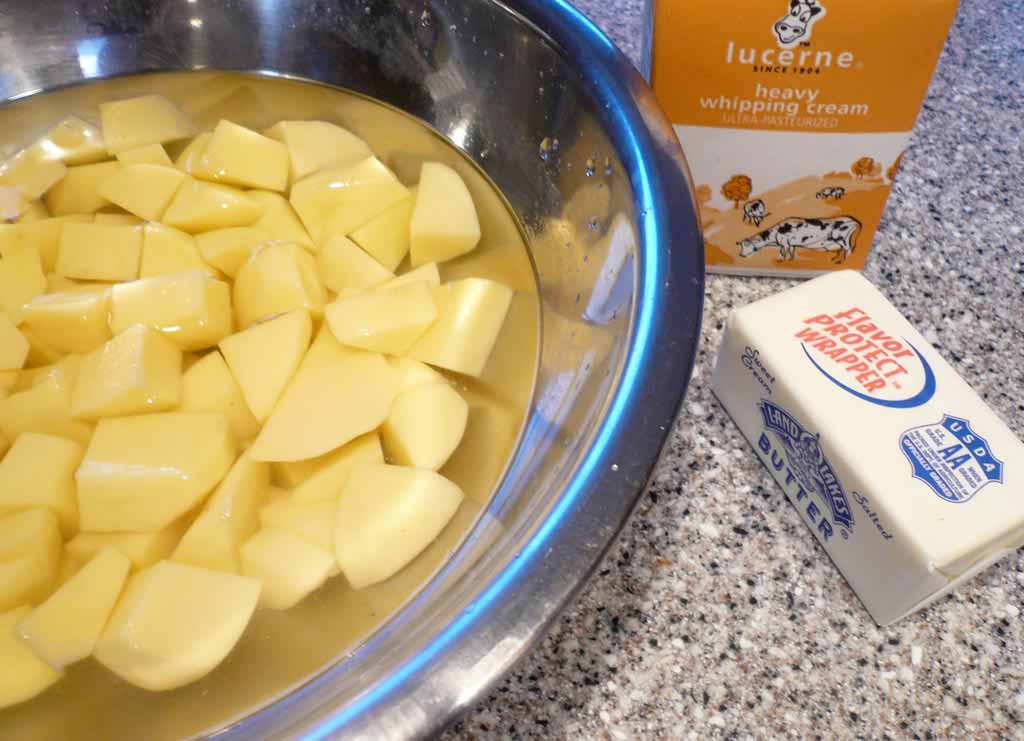
I peeled, chopped and boiled the potatoes until tender. Then threw into the Kitchenaid mixer with some butter, heavy cream, and a touch of kosher salt to taste. Reserved the steaming mixing bowl to my prep area.
Ingredients
Yukon Gold potatoes, peeled, from North Park Produce
Land-O-Lakes butter
Lucerne heavy cream
Diamond Crystal kosher salt, to taste
Chive Tips
Jeez, I almost forgot these! Ran out to the garden and clipped a few fresh chive tips. Brought ’em back into the kitchen and reserved in a small plastic container to my prep area (which, by this time, was getting kinda crowded).
Ingredient
Fresh chives, from my garden
To Assemble and Serve
Previously, I’d purchased a couple of grass-fed ribeye steaks (US$44.50) and suet (US$3.19) at Iowa Meat Farms (6041 Mission Gorge Rd, San Diego, California 92120, 61-281-5766). I decided to grill the ribeye rather than sous vide. I could do that while I finished the potatoes, and hopefully bring it all together before everything got too cold.
The Alinea Restaurant cook book says to cook the ribeye en sous vide. I cooked ours on the outdoor gas grill until medium rare, which came out to about four minutes on each side.
The prep area, and I almost forgot the chive tips (not shown, but I grabbed some a la minute, from the garden):
Now I was ready to assemble and serve… Ran out to the barbecue and grabbed the steaks. While they were resting, I took the potato strips out of the oven and placed one on each plate. Since they were kinda falling apart, I decided to place these under the potato purée, rather than over it.

Over the potato strip I placed three piles of mashed potatoes, pressing a well in each for the sauces.
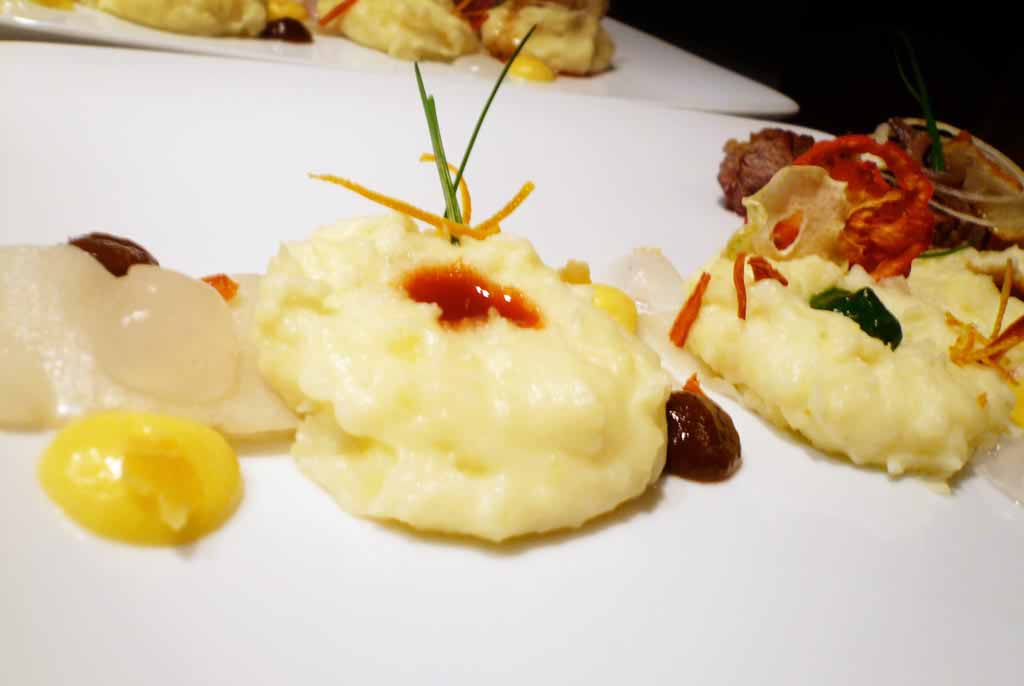
I added red pepper sauce, chive purée, and anchovy sauce to each well. Cut up the ribeye and placed a generous portion under the fried end of the potato strip. Then added dollops of spiced vinegar gel, raisin purée, and orange purée around the plate.
Then garnished with the tomato chips, garlic chips, a sprinkling of ginger chips, dried orange zest, chive tips, an onion ring on the steak, and an anchovy “twist” on the end. I think I got everything. I dispensed with a squeeze of ginger juice. I was garnished (read “tuckered”) out. And hungry…

It was delicious. And if anyone at the table asked for steak sauce I woulda killed them right then and there.
Ingredients
Grass-fed cattle ribeye steak, from Iowa Meat Farms
Lucerne heavy cream
Serveware
Square plates from Target
Equipment
Salter digital scale
Measuring bowls
Cutting board and kitchen knife
Paring knife
Large stock pots
Wooden spoon, rubber spatulas
Chinois, strainers and sieve
Spoon or small strainer for skimming
Small bowls
Sauté pans
Small cast iron skillet
Oster blender
Cuisinart mini food processor
FoodSaver vacuum sealer and sous vide bags
Large pot and digital thermometer, or immersion circulator
Stainless steel bowls
Spice Grinder
American Harvest food dehydrator
Rotary vegetable sheet slicer
Pastry brush
Paper towels, baking parchment and sheet trays
Plastic containers
Plastic squeeze bottles
Yields: Eight servings easy, with lots of ribeye (if you do the whole thing), 2 quarts of veal stock, almost-full squeeze bottles of 6 sauces, and lots of garnishes left over
Next, CHICKEN SKIN, Black Truffle, Thyme, Corn.
I was lucky enough to be invited to share in this one. It was amazing how all the various sauces and vegetable flavors combined to replicate the flavor of A1 sauce. Each of the sauces was incredibly flavorful on its own, though.
Gorgeous. Absolutely stunning work.
These are really good elements for dinner…
Thanks for the post..
“And if anyone at the table asked for steak sauce I woulda killed them right then and there.”
Too damn funny!
That dehydrator sure worked quadruple time on this “simple” one. I really should sue you for causing me a seizure with SL in the middle of your post. Not cool. Not cool at all.
These Alinea recipes are sick. Respect for making them.
Dude, you should replace your grocery-store tupperware with cheap, standard restaurant supply stuff. Buy one sleeve of each of these:
Quart containers: http://www.webstaurantstore.com/32-oz-newspring-l5032-delitainer-clear-round-deli-container-25-pk/999L5032.html
Half quart: http://www.webstaurantstore.com/16-oz-newspring-l-5016-delitainer-clear-round-deli-container-50-pack/999L5016PK50.html
Quarter quart: http://www.webstaurantstore.com/8-oz-newspring-l-5008-delitainer-clear-round-deli-container-50-pk/999L5008.html
And buy two sleeves of lids: http://www.webstaurantstore.com/newspring-nl-500-delitainer-clear-round-deli-container-lid-50-pk/999NL500.html
You’ll be set for years. They are so much more convenient since they’re so cheap that you don’t feel bad throwing them away or giving them away. They are dishwasher and microwave-safe. If someone wants to take something home, send it in one of those. The best is that you don’t have to look for ten different kinds of lids. They all use the same lid.
Wow, what an excellent job recreating this Alinea dish at home! It looks outstanding!
Thanks Barzelay,
I like the way you think!