Recipe, pages 96-99.

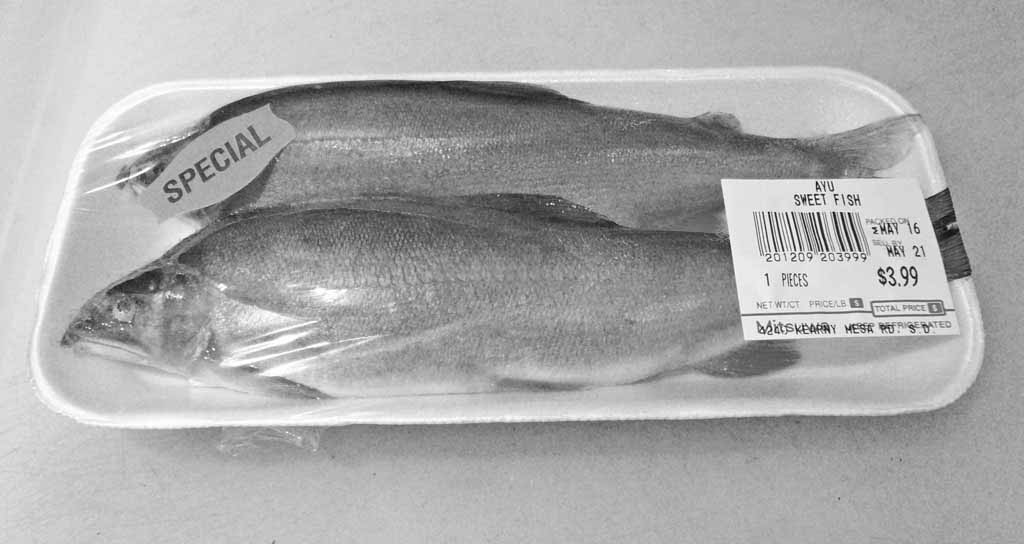
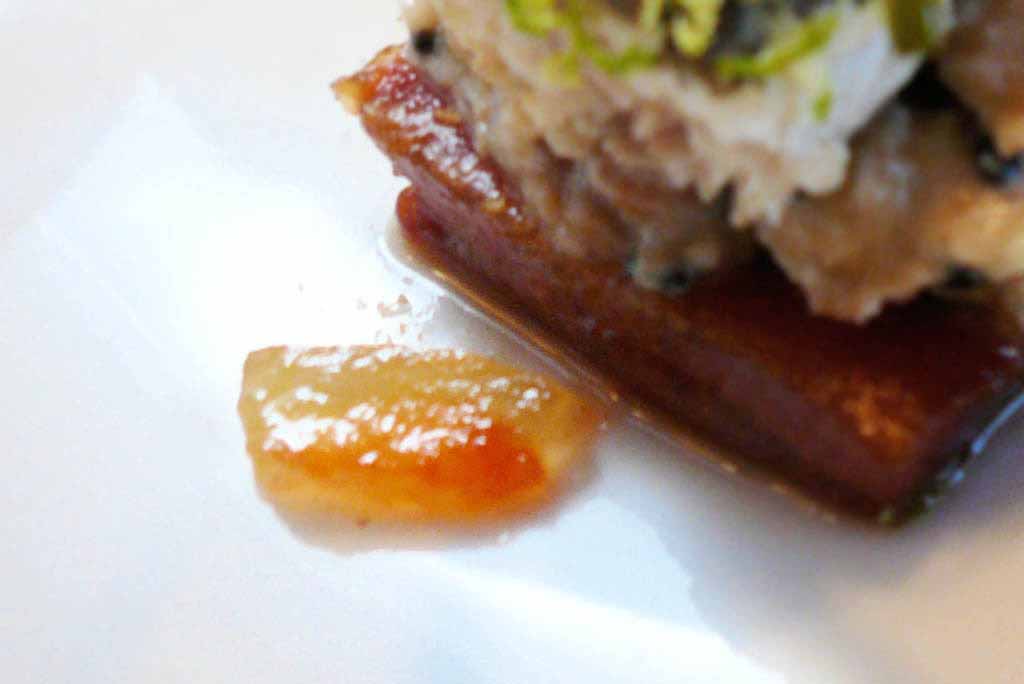
This is an interesting presentation for an unusual fish. Unusual in the sense that if you go to a ‘mainstream’ seafood restaurant — say like The Fish Market — they’ll never have it. However, you can find ayu in many Asian markets.
About Ayu
The Ayu (Plecoglossus altivelis) is a small amphidromous (fresh AND salt water) fish related to the smelt. Often called the “sweetfish” for its sweet-tasting flesh, some say it tastes of cucumbers or melon. Thus the choice of watermelon as an ingredient in this dish.
I bought four 2-packs of ayu (flown in from Japan) at my local Mitsuwa Marketplace, on sale for US$3.99 a pack. If you can’t find ayu, you could probably get away with using another small fish like smelt or even trout.
I’d be interested to know what you choose.
It’s also unusual for using the fish’s skin and bones, kinda like sushi designed by H.R. Giger… I’ve never done that before. And I’m excited to use my brand new Alinea plateware!
So let’s get going!
Day One (Friday)
Watermelon Planks
I bought a small “seedless” watermelon at North Park Produce. The funny thing about “seedless” watermelons is that they’re never really seedless, even when they’re advertised as such. And the growers are very careful (and sneaky) to acknowledge it! Look at the label carefully. It’s right there.
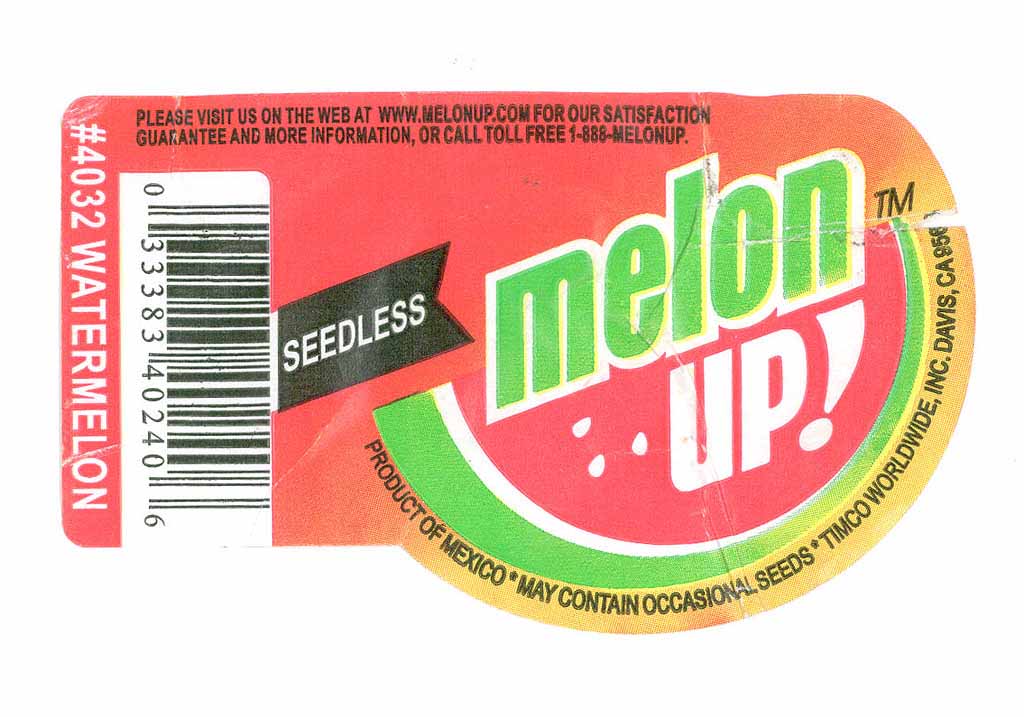
“May contain occasional seeds.”
Harrumph.
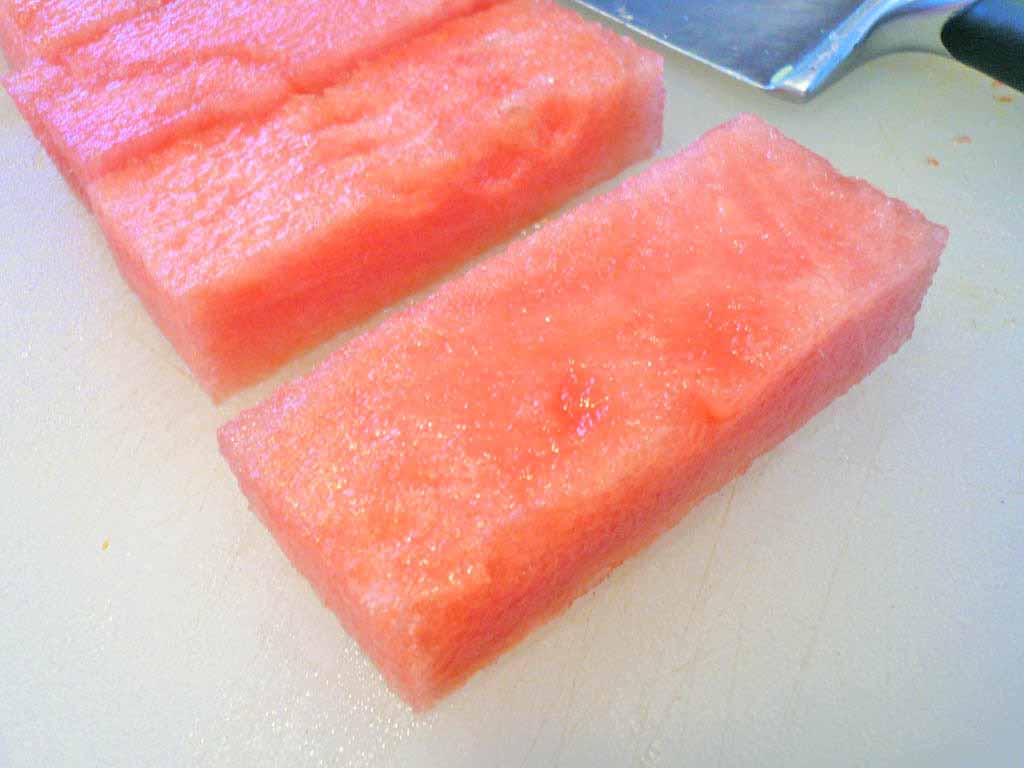
I cut the watermelon in one-half-inch thick slabs.

Then into 3×1 inch rectangles, reserving the rinds.
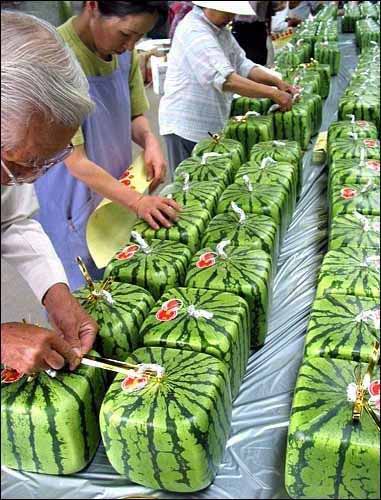
Ya know… Now that I think about it, cutting a round melon into squares would be a lot easier if I had used one of these US$82 melons…
Mise en place:
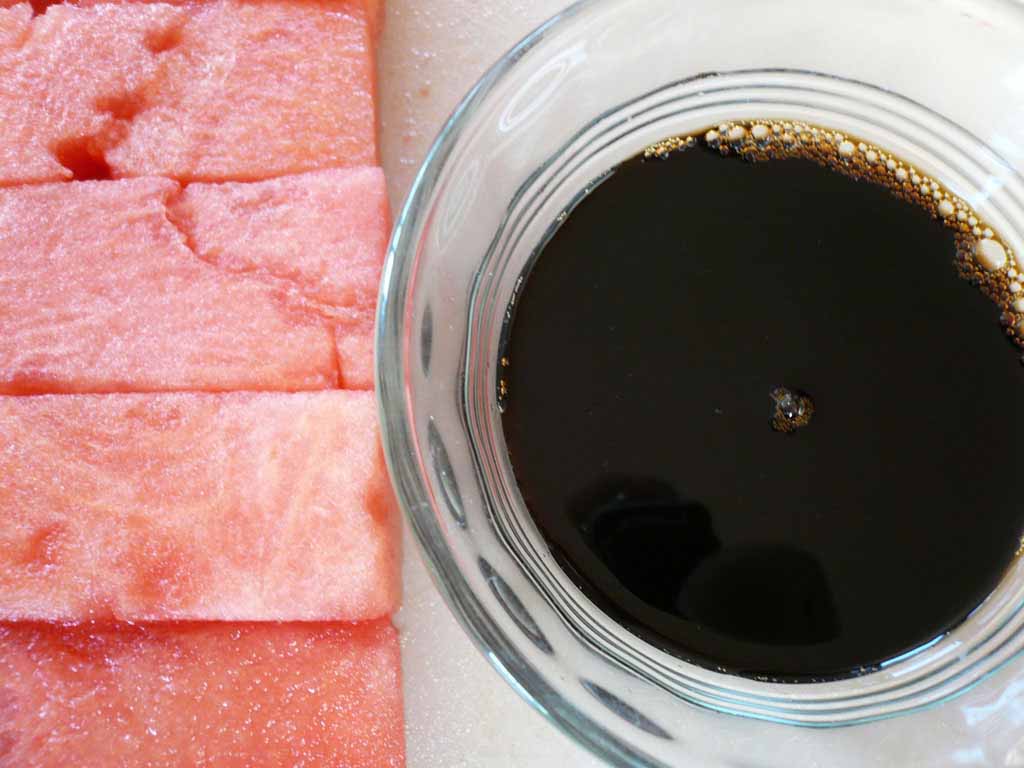
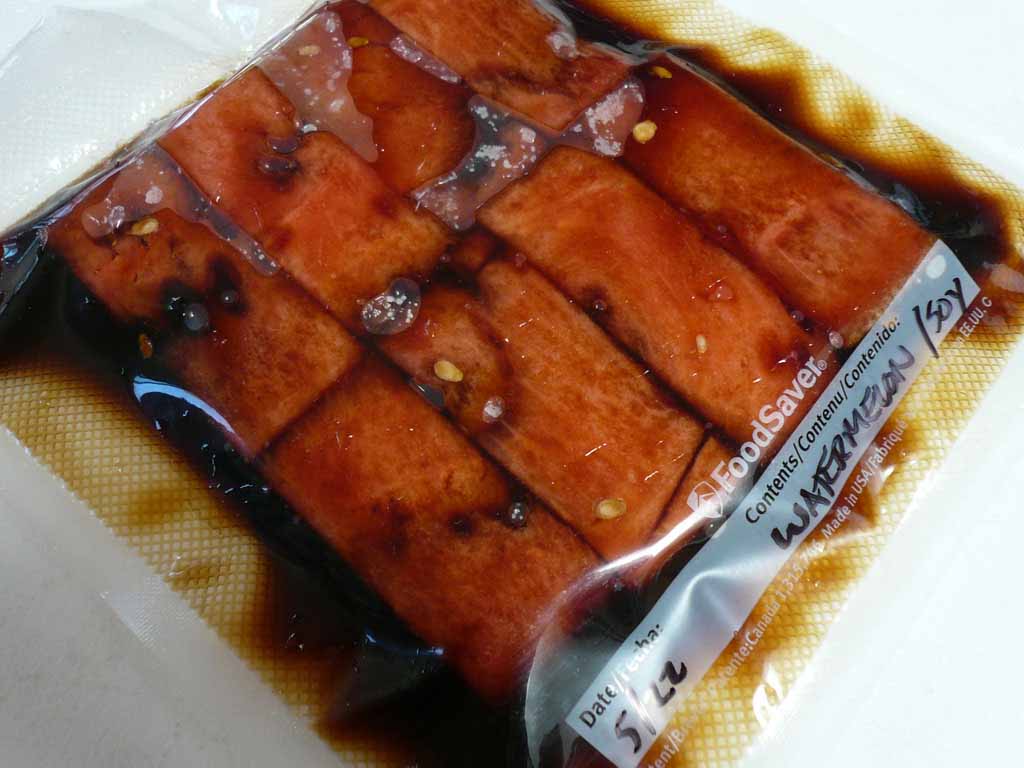
Then sealed them up with the soy sauce in a bag with my FoodSaver V2240 vacuum sealer, and reserved to the fridge. Side note: check out Kikkoman’s online Soy Sauce Museum.
Why are we doing this?
The goal here is to compress the watermelon into a more flesh-like texture, like a really good sushi-grade tuna. When you compress melon with a vacuum sealer, it’s texture changes. Gets denser, more “meatier,” while undergoing syneresis — the process of liquids leaching out of solids, for example the liquid that shows up on the top of your sour cream.
With a heavy-duty vacuum sealer, you can very quickly compress watermelon, and even easily make pickled watermelon rind. With my FoodSaver V2240, not so much. It does better with solids.
With liquids? Not enough pressure to fully compress the fruit. So I’ll have to make due. I tried vacuum sealing it two times, with just a tad bit more success. Or if you don’t have a vacuum sealer, you can just bag it and freeze it overnight to accomplish closely the same results.
Here are a couple of fun compressed watermelon links by Aki Kamozawa and H. Alexander Talbot of Ideas in Food and Chad Galliano of Chadzilla.
Another of my favorites is Dave Arnold’s edible martini — vacuum sealed cucumber slices with gin. Mmmmm, instant cucumber martini!
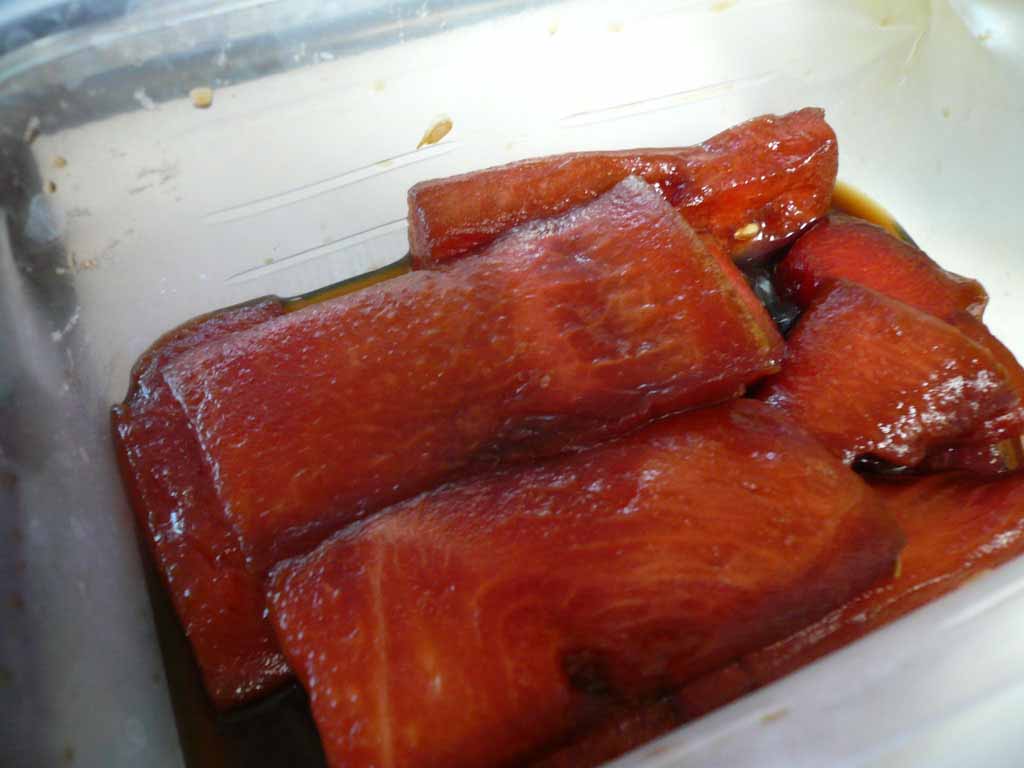
Here’s what it looked like the next day:
Ingredients
Small “seedless” watermelon
Kikkoman low sodium soy sauce
Pickled Watermelon Rind
It’s not a new-fangled post-modernist thing. Pickled watermelon rind has been around for a very long time. We’re just going to use it as one component in a complex dish.
I took the reserved rinds left over from the Watermelon Planks component recipe, and cut off the green skins.
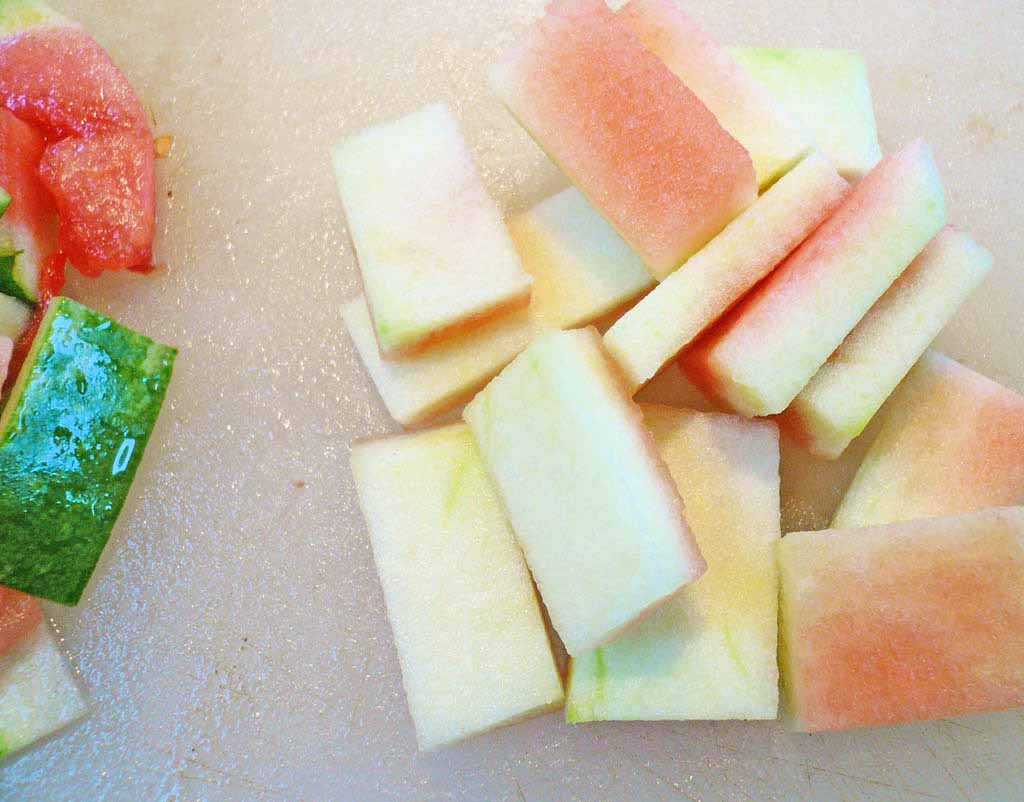
You want to leave some of the red on the white pith.

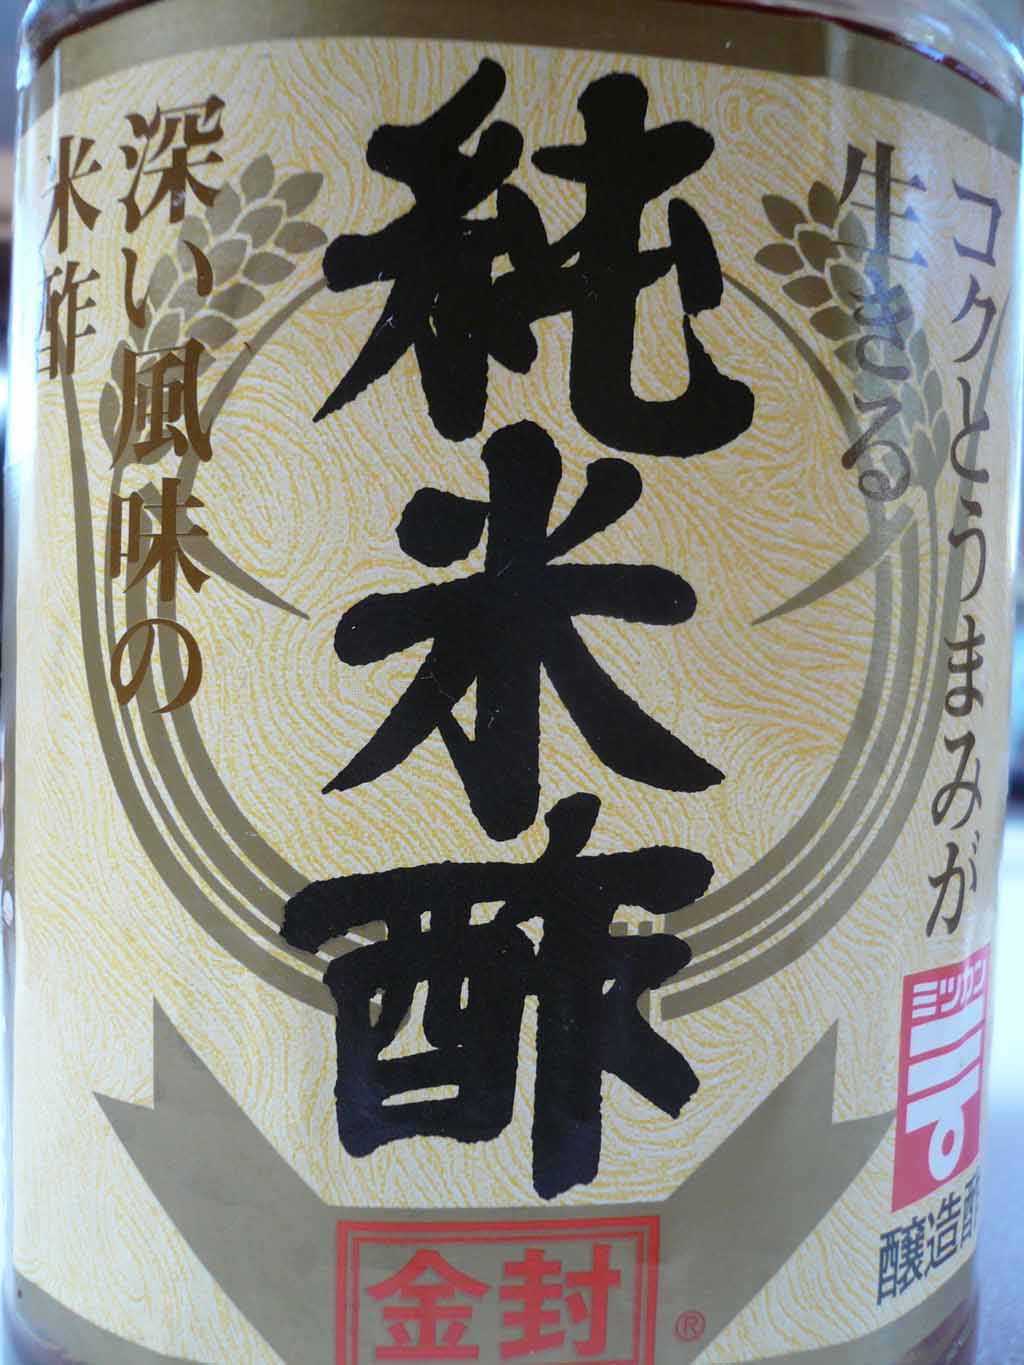
I used a really nice Japanese rice vinegar. Mostly because I’m a sucker for a pretty label.
Mise en place:
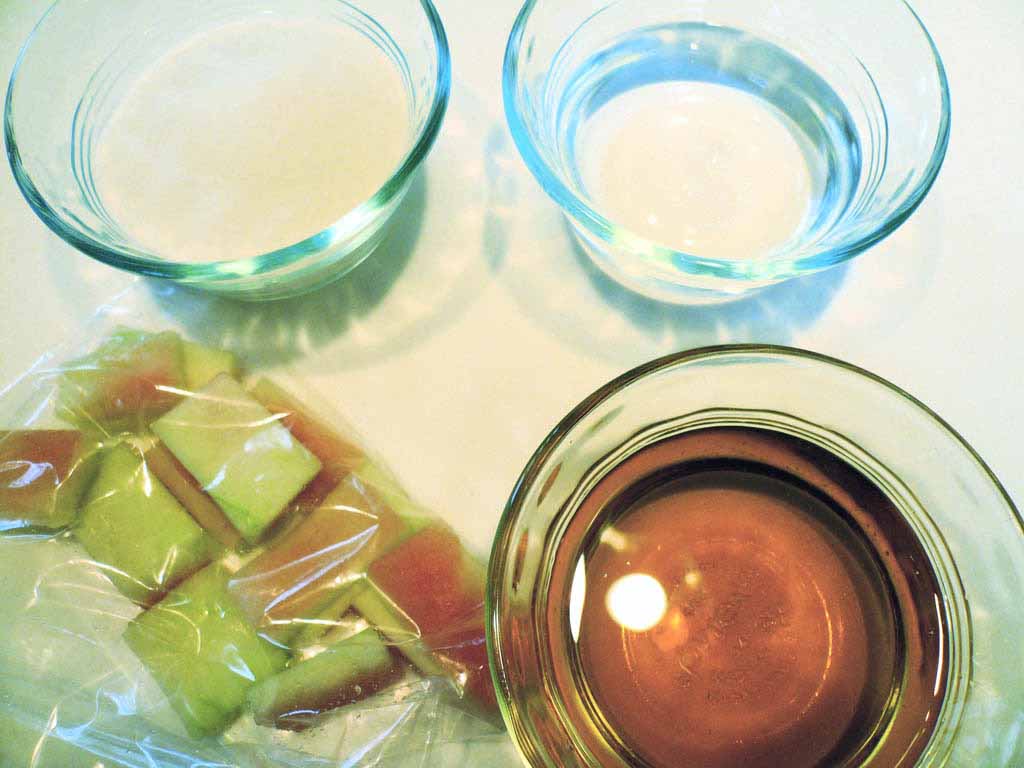
I combined the sugar, water, vinegar and rinds in a medium saucepan and brought them to a boil. Then simmered for 2 hours, until the piths were translucent.

I transferred it to a small bowl and popped into the fridge. You can also preserve it in its syrup in bell jars if you make a bunch.
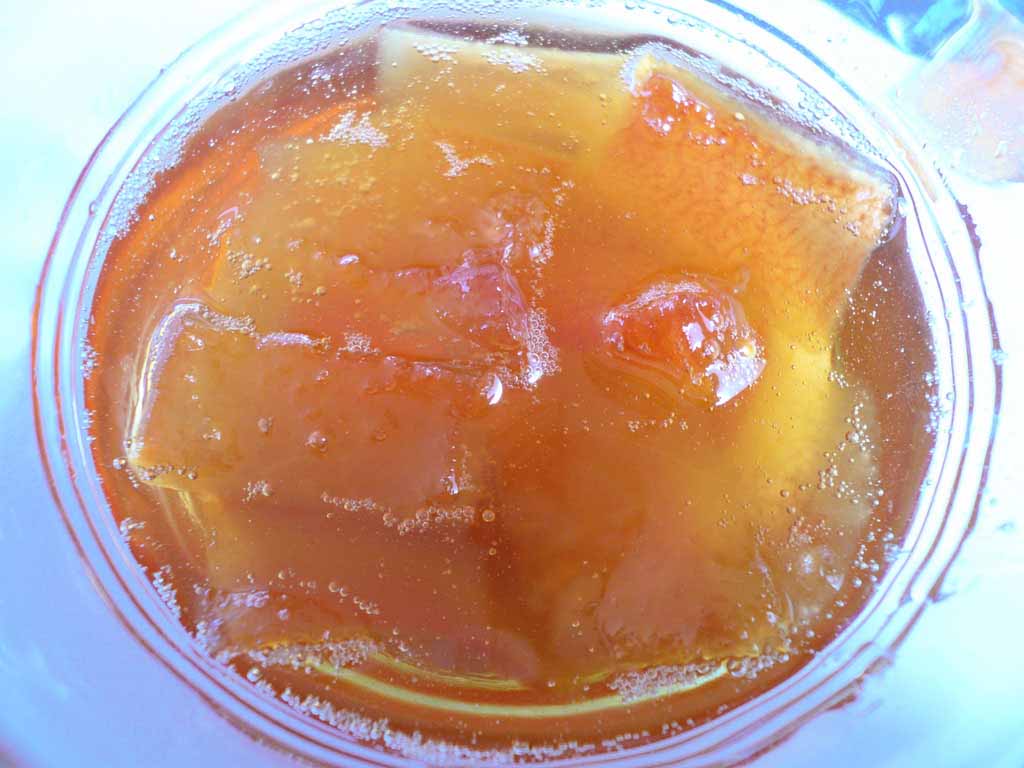
When it was pickled, or rather “candied” I say, the watermelon rind went translucent. And when eaten, it’s sweet, sour and crunchy. My friend Candice was dubious. She took a bite — and really liked it!
I thought it was quite beautiful when done. With a bit of the red left on the pith, it reminds one of stained glass (at least art nerds like me).

It’s so easy to make too.
Ingredients
Reserved watermelon rind
Water
C&H cane sugar
Mizkan rice vinegar, from Mitsuwa Marketplace
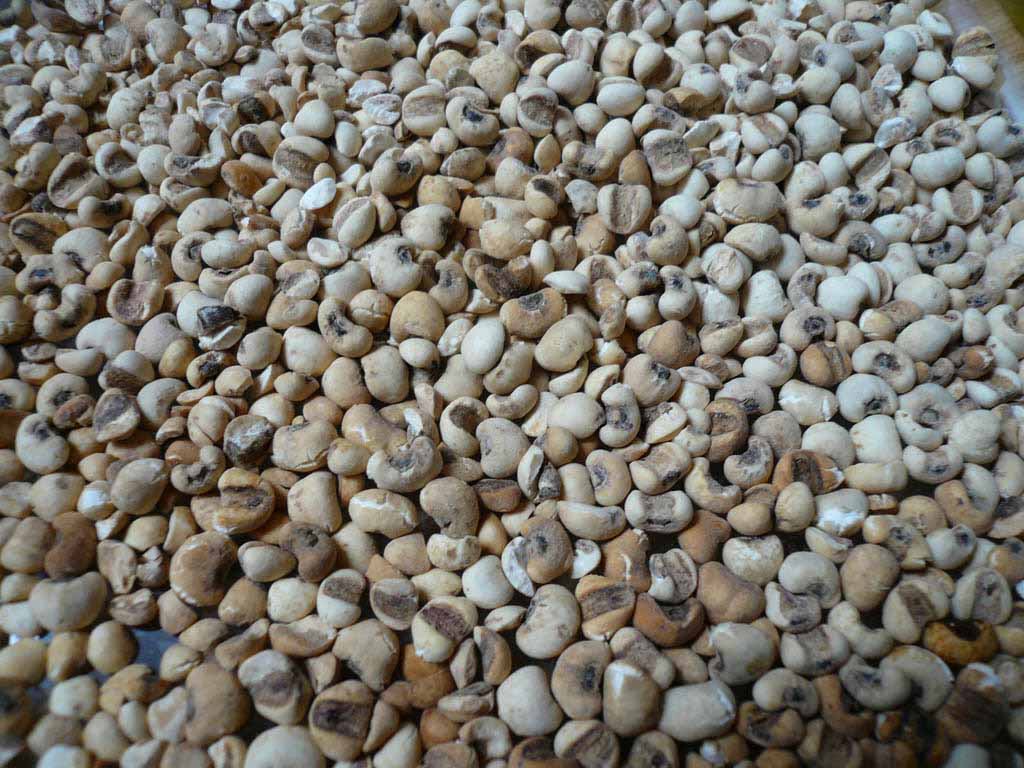
Hato Mugi
What’s hato mugi? It’s like barley — big barley. Although hato mugi is not barley, it’s related. Also know as Job’s Tears, hato mugi is a very old-world grain, used in the East as a healthful, “cleansing” grain. If you can’t find it, use large pearl barley (make sure it’s not the smaller “pearled” barley).
That’s what I did. There was an empty spot marked “Job’s Tears” on the shelf in Zion Market for several weeks, so I picked up pearl barley instead.
I toasted the hato mugi in the oven until it browned a bit and was fragrant.

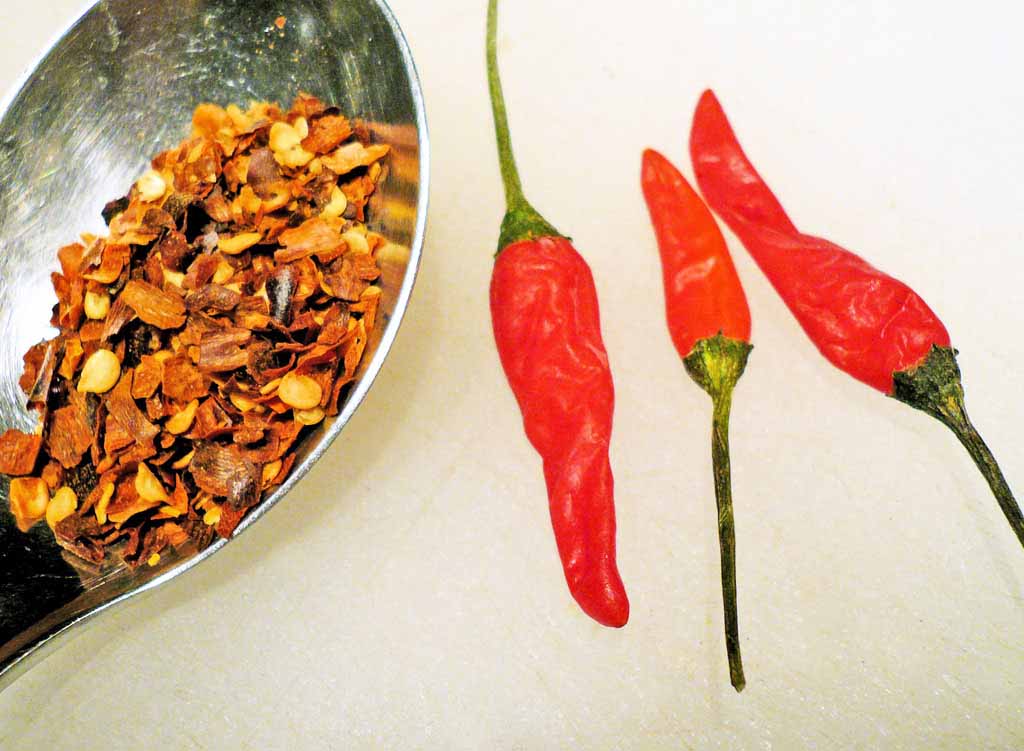
While that was in the oven I peeled the ginger, removed the stems and seeds from some red Thai chilis, and roughly chopped them up. Also chopped up some lemongrass. I like to use the flat side of a large knife to mascerate the lemongrass a bit, this releases more of the aromatic oils.

Mise en place:
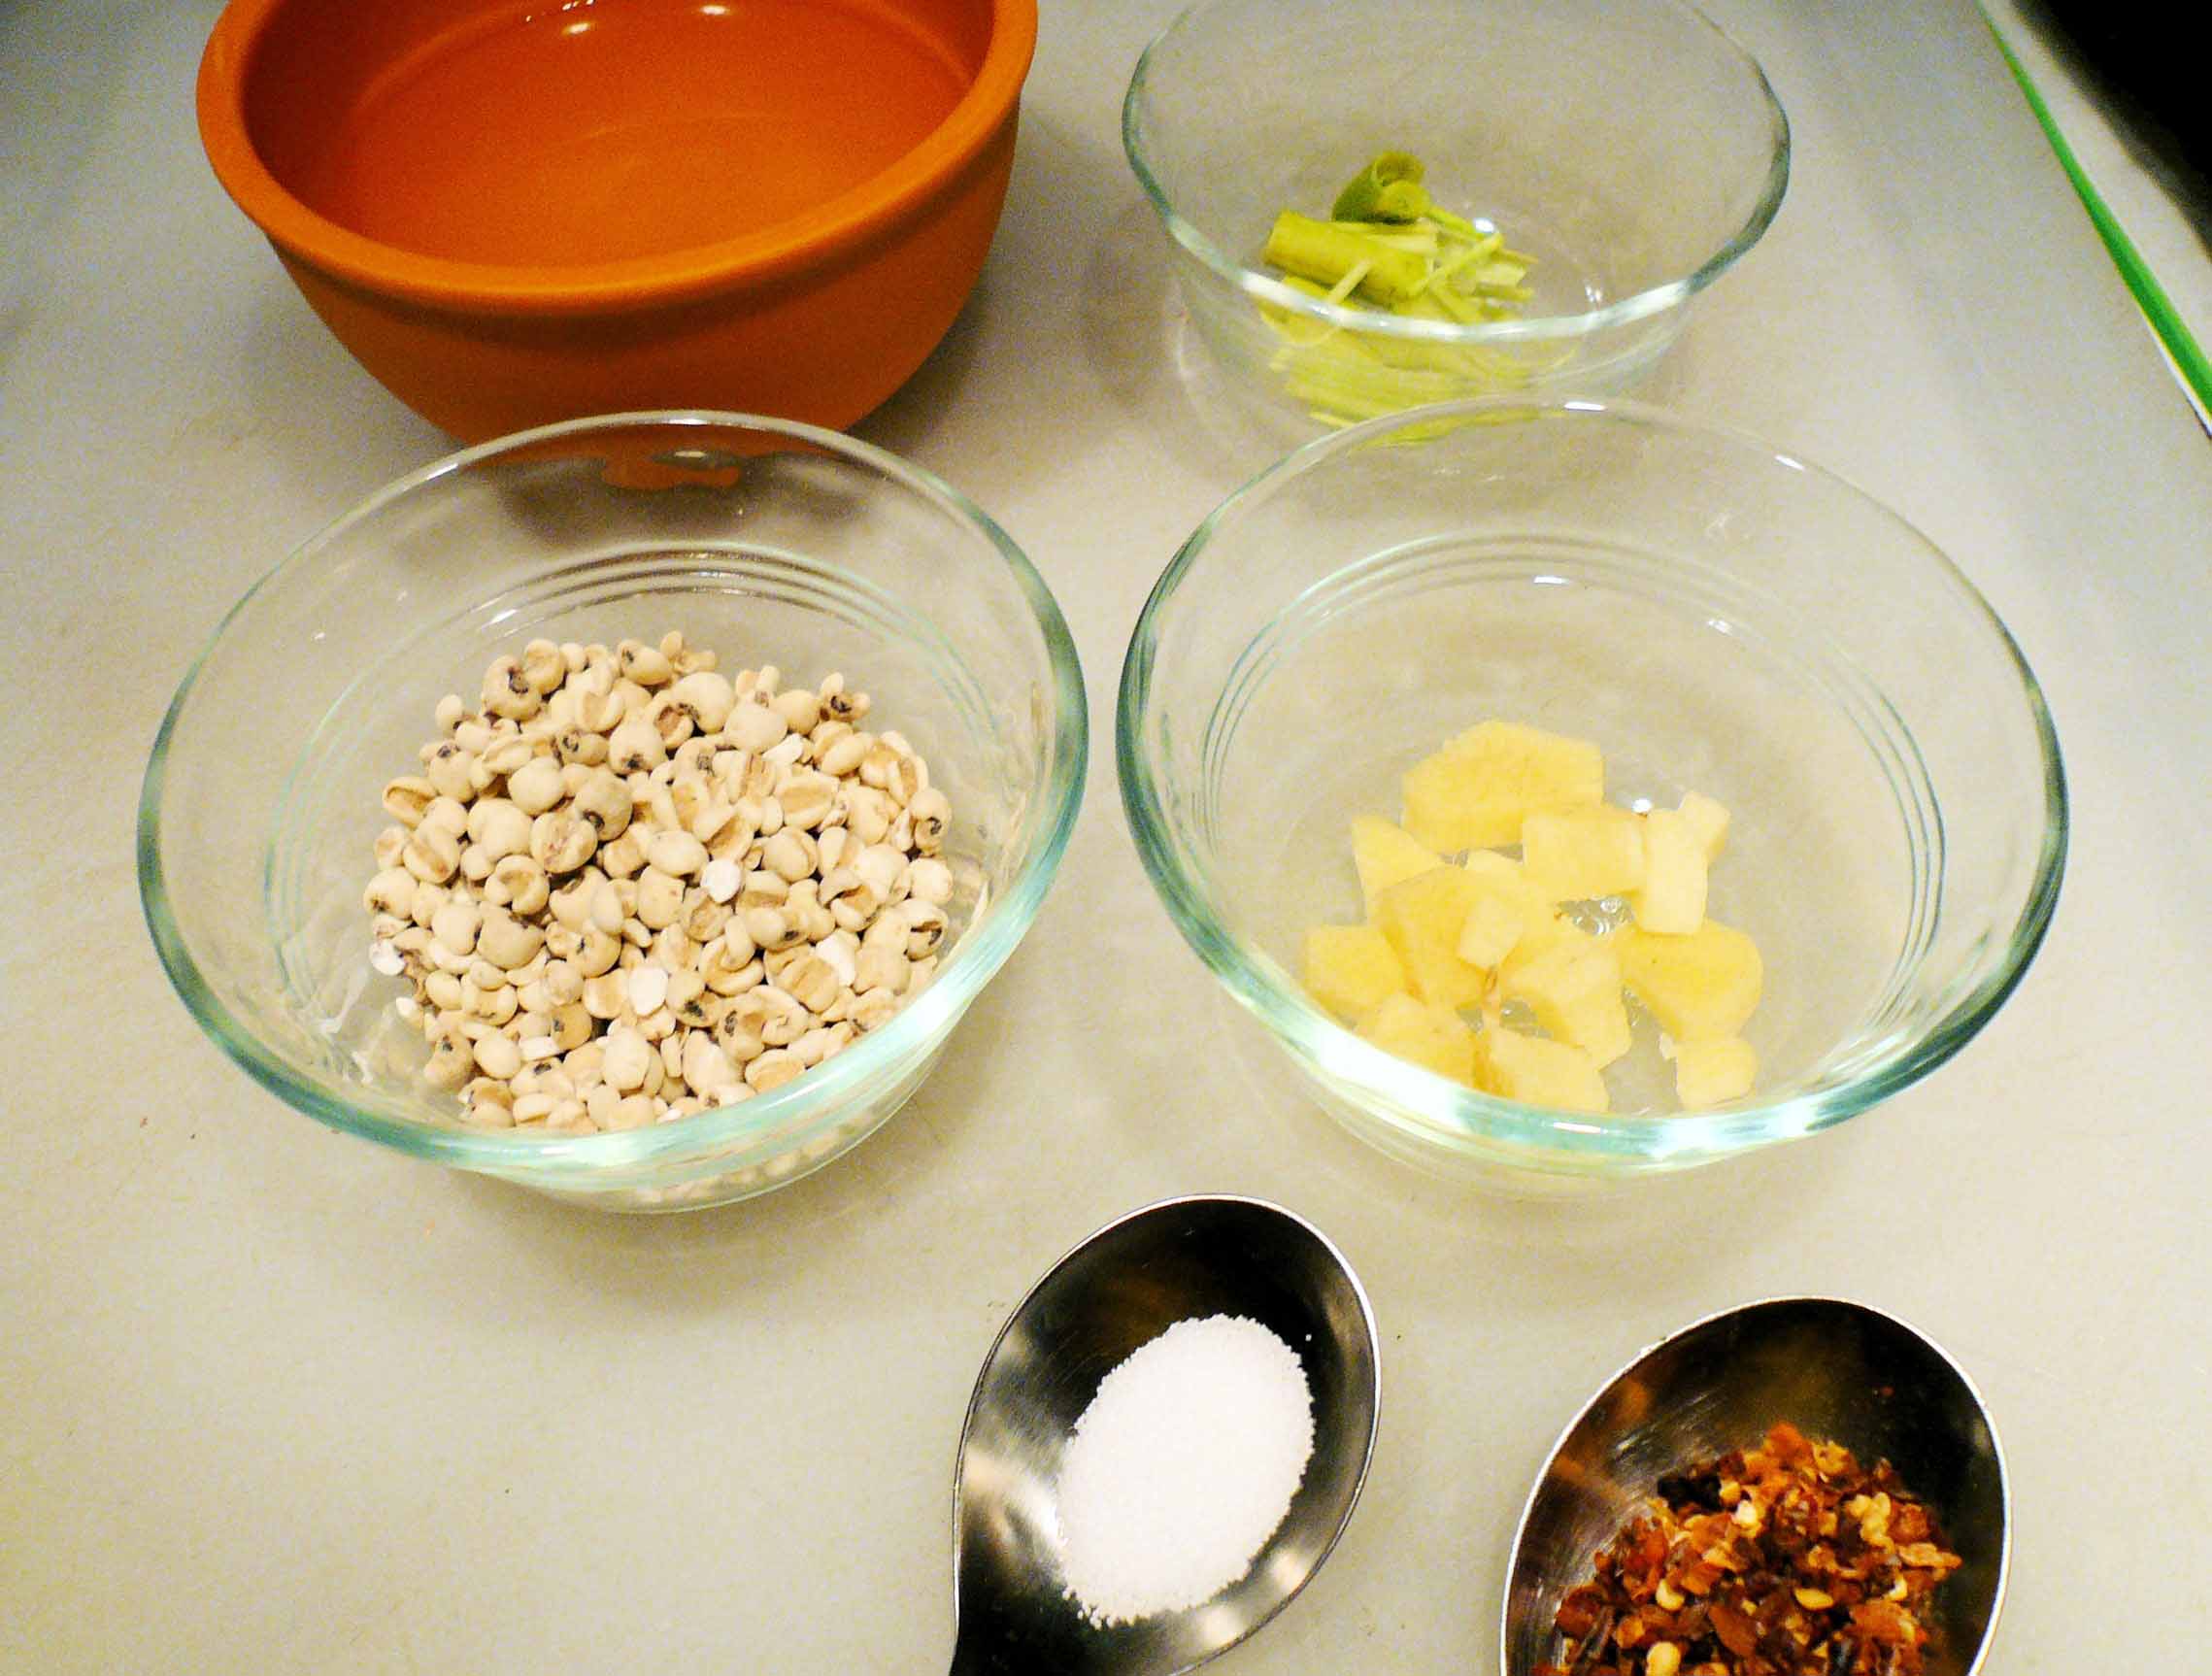
The recipe lists red chili flakes, but the directions indicate they use fresh chilis. So I decided on fresh chili. Actually, not fresh. I bought a large bunch of red Thai chilis for LOBSTER, Tropical Fruits, Meyer Lemon, Hearts of Palm a while back and froze what I didn’t use. So let’s just say “fresh frozen.”
Errata
Page 97, Hato MugiIn list of ingredients, change “
2 g (.07 oz) red chili flakes” to “2 g (.07 oz) red Thai chilis”.
You could use anything to spice it up (or none at all if you don’t like your hato mugi spicy).
I bagged the diced ginger, lemongrass, and chili with some cheesecloth and kitchen string.
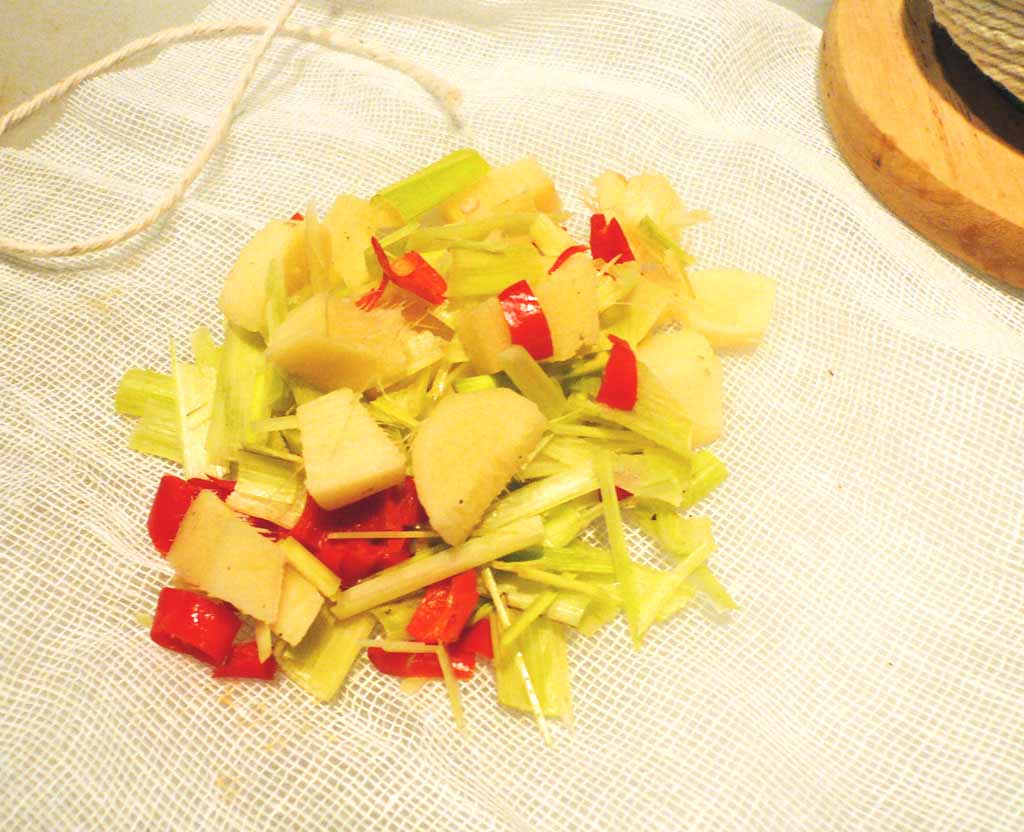
I combined the hato mugi, water and a wee bit of salt in a medium saucepan, then popped in the bouquet garni.
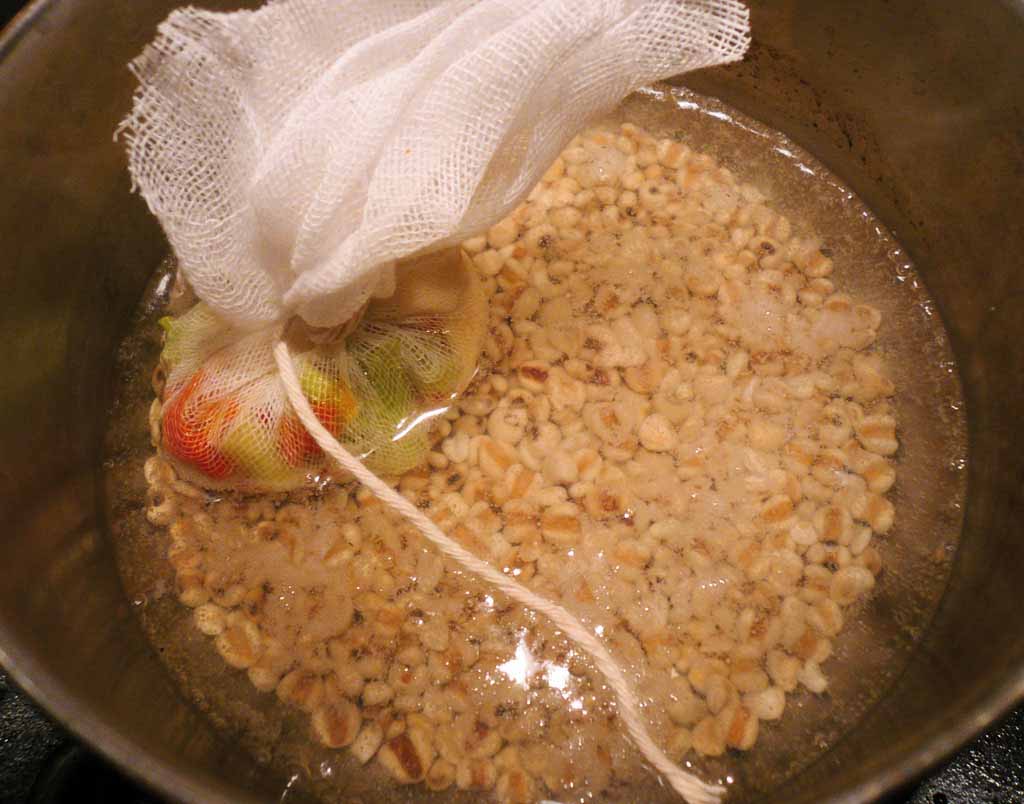
I brought it to a boil, then let it simmer, covered, for about half an hour. The recipe says twenty minutes, until tender. But they’re using hato mugi and I’m using pearl barley. Cook it until it’s al dente. Depending on the size of your barley and your altitude, you may have to add more water. I found I had to keep an eye on it.
Ingredients
Pearl barley or hato mugi, from Zion Market
Water
Diamond Crystal kosher salt
Fresh diced ginger root, lemongrass and Thai chili, from Zion Market
Puffed Hato Mugi
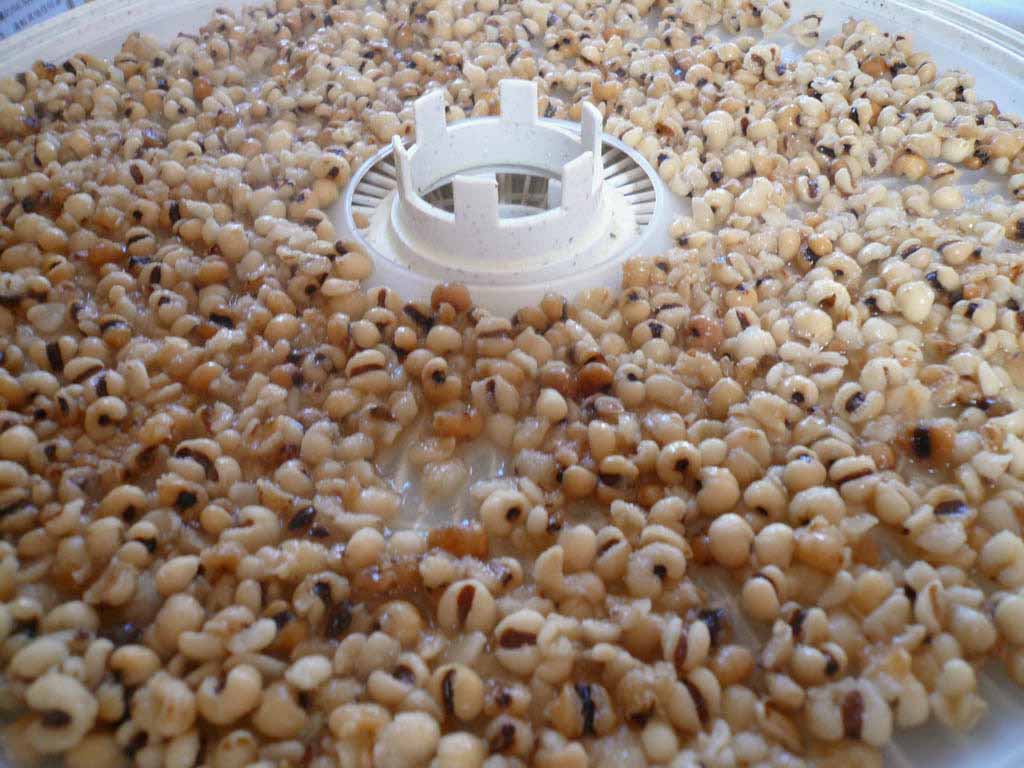
This component recipe is quite similar to the Puffed Barley from BISON, Cranberry, Persimmon, Juniper Branch Aroma, so making it was a little more familiar and easier than I anticipated. I put part of the cooked barley on a tray in my NESCO American Harvest dehydrator at 140ºF for several hours, until dry. I reserved the rest for Hato Mugi Salad.
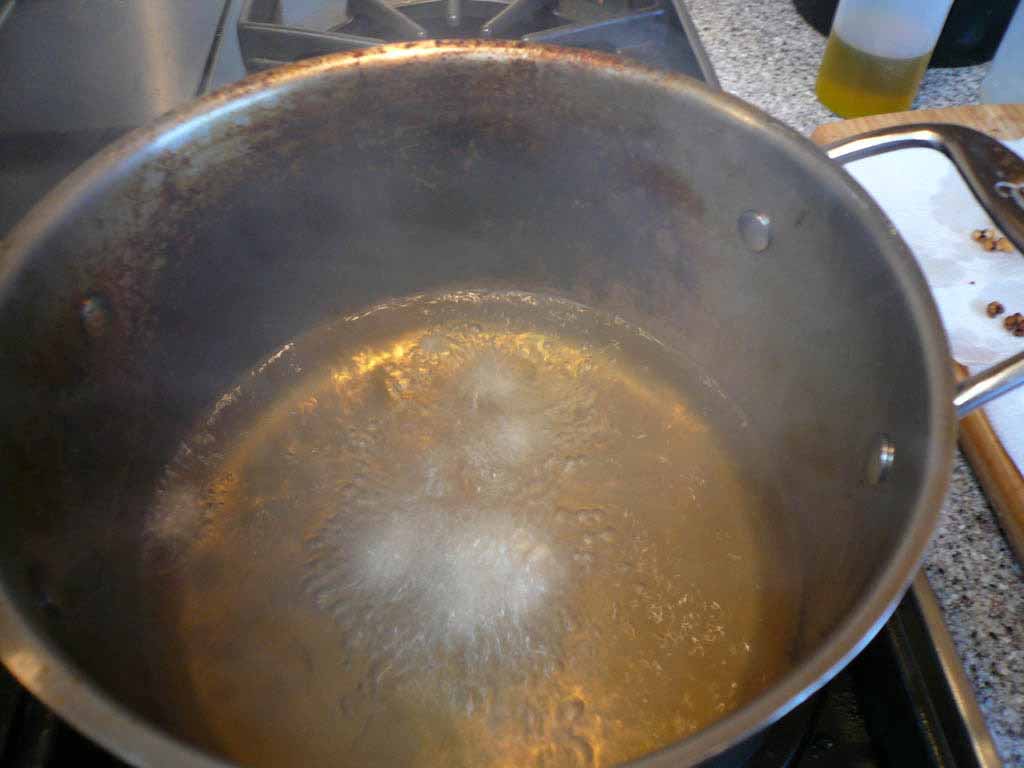
 I deep-fried some in a pot of hot canola oil. Once they puffed up like popcorn, I drained them on paper towels.
They turned out a bit too brown I think, but were quite tasty. Crunchy, puffed cereal — spicy too.
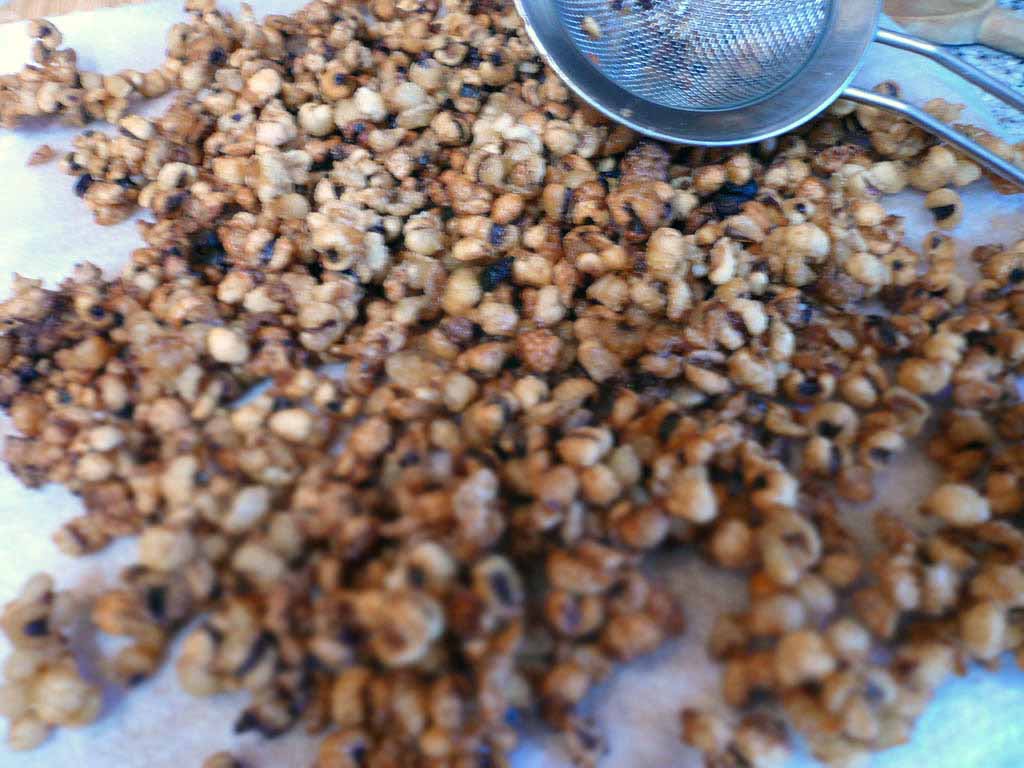
I stored them in an airtight container.
Ingredients
Cooked hato mugi, from above
Canola oil
Sesame Seeds
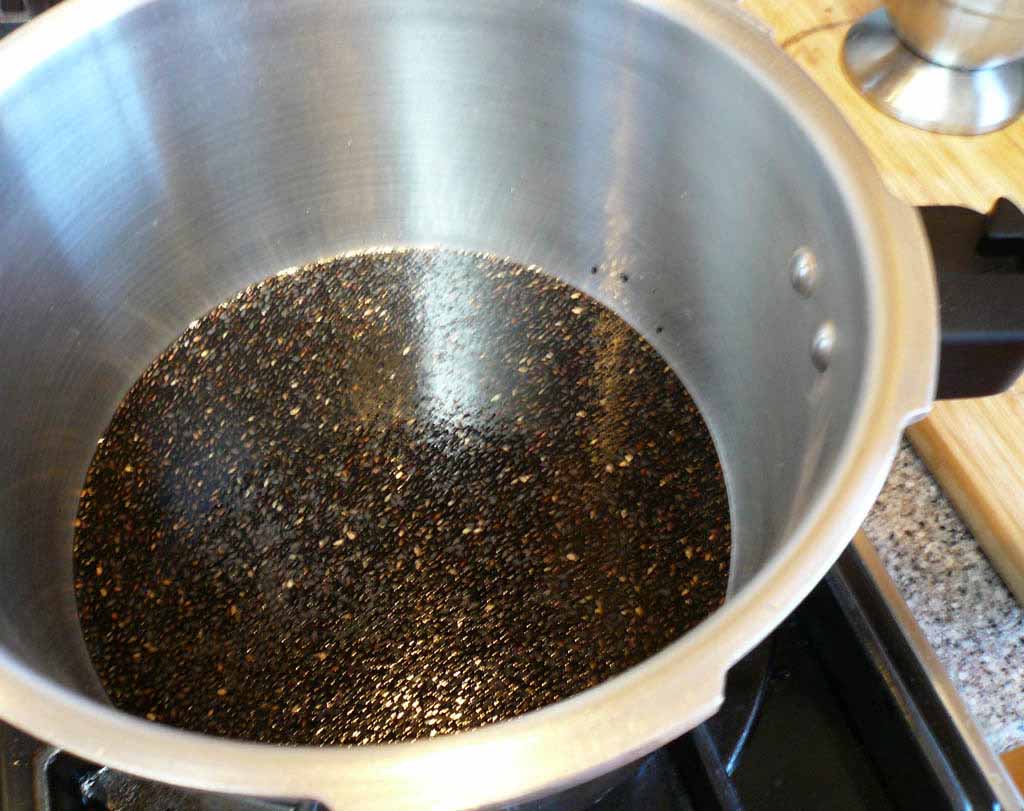
I never have cooked with a pressure cooker before. I didn’t even own one up until this recipe. So I broke down and got one at Target. Virtually no directions came with the thing. This’ll be fun.
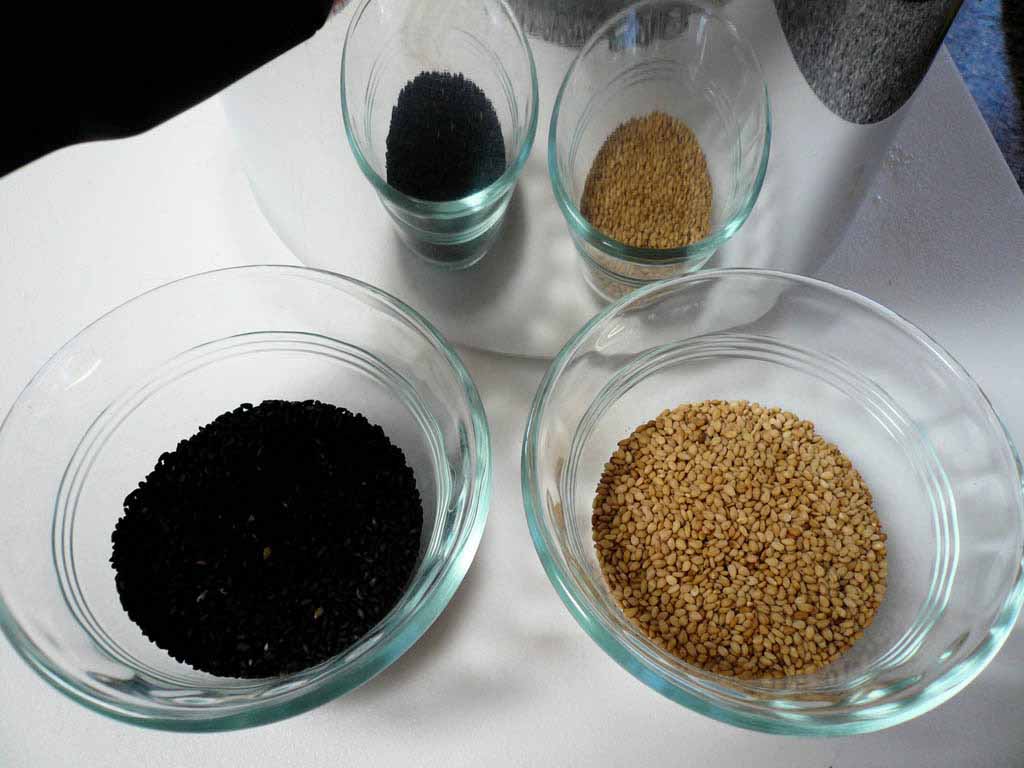
I put half an inch of water in the pressure cooker with the black sesame seeds, then cooked for 15 minutes. The recipe says to use ten pounds pressure, but my pressure cooker has no such indicators… Burned em dry. I should have listened to Chef Arlyn Hackett.
After much scrubbing, I tried again and monitored the steam more closely. This time it worked, and the sesame seeds were plumped up.

So I repeated with the white sesame seeds.

Ingredients
White (regular) sesame seeds
Black sesame seeds
Water
Sesame Pudding
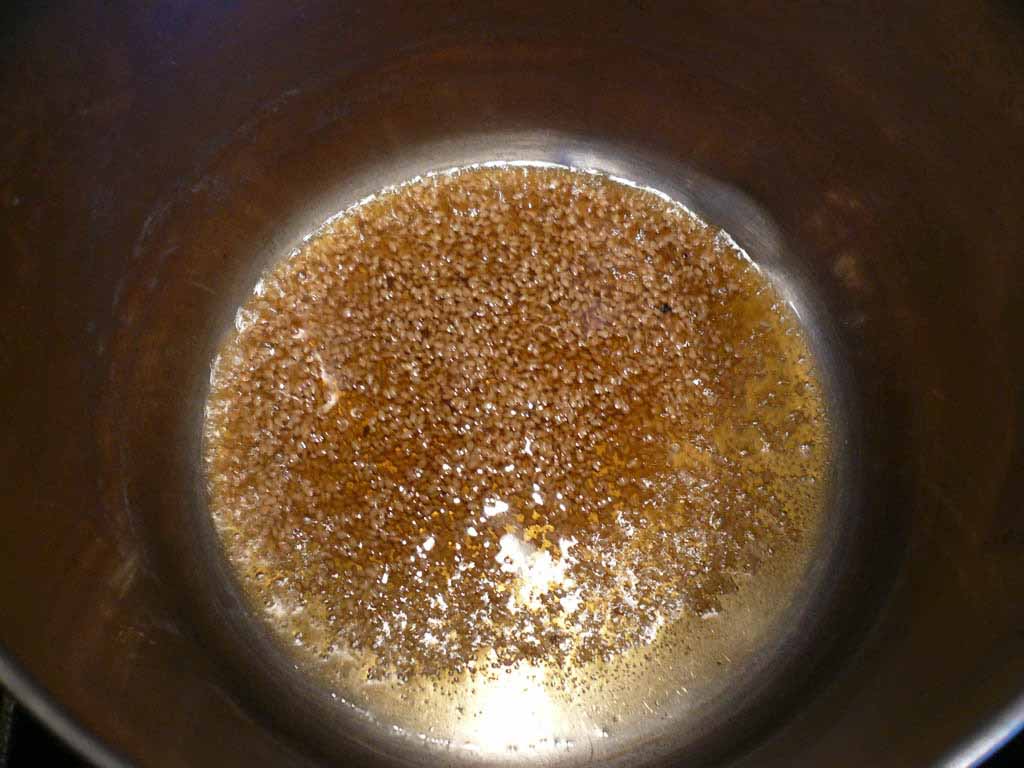
This pudding turned out quite nicely, and it’s just delicious! Mise en place:

I combined the sesame seeds and sesame oil in a medium saucepan, and heated. until they turned a golden brown.
Then I added the milk, and brought it to a simmer.
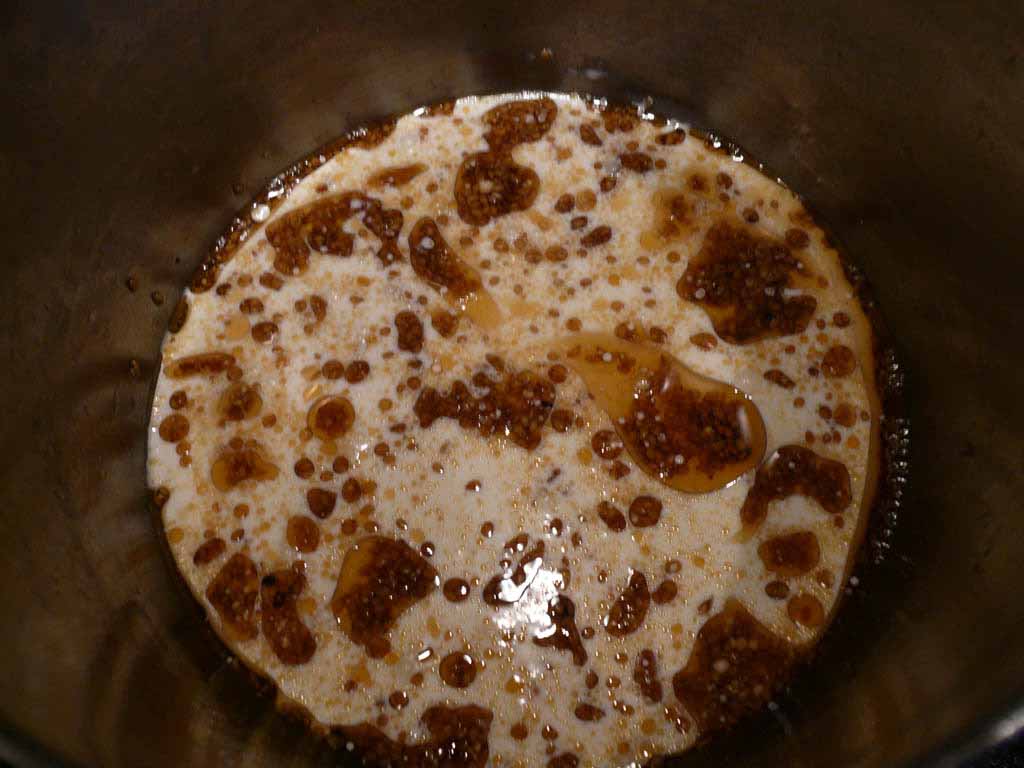
I removed it from the heat, covered and let it steep overnight.
Ingredients
Plumped white sesame seeds, from above
Sesame oil
Whole milk
C&H cane sugar
Diamond Crystal kosher salt
Agar agar
To Be Continued…