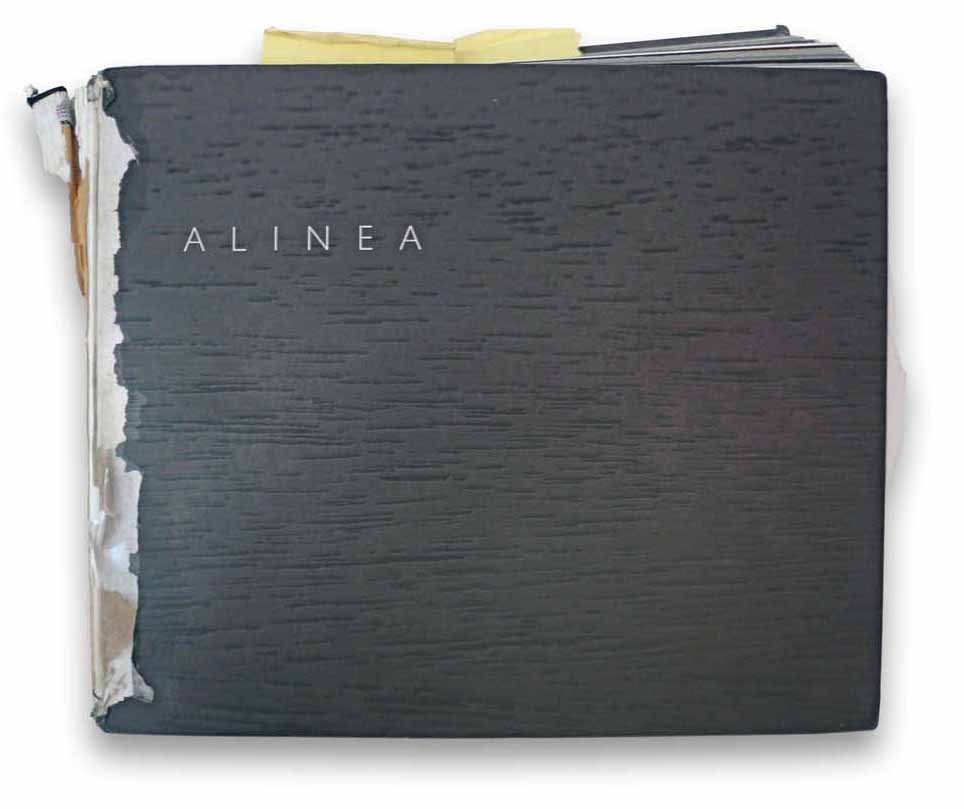
A project recreating the molecular gastronomy recipes of Alinea at home — from the cook book by Alinea Restaurant in Chicago, Illinois. With notes, errata, stories, sources for pantry ingredients, and service ware.

SPONGE CAKE, Tonka Bean, Dried Cherry, Vanilla Fragrance
February 14, 2018
Alinea Restaurant’s humorous take on traditional Victoria sponge cake — on a stick, coated with a layer of hard candy,... Read More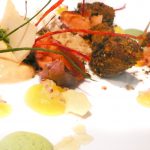
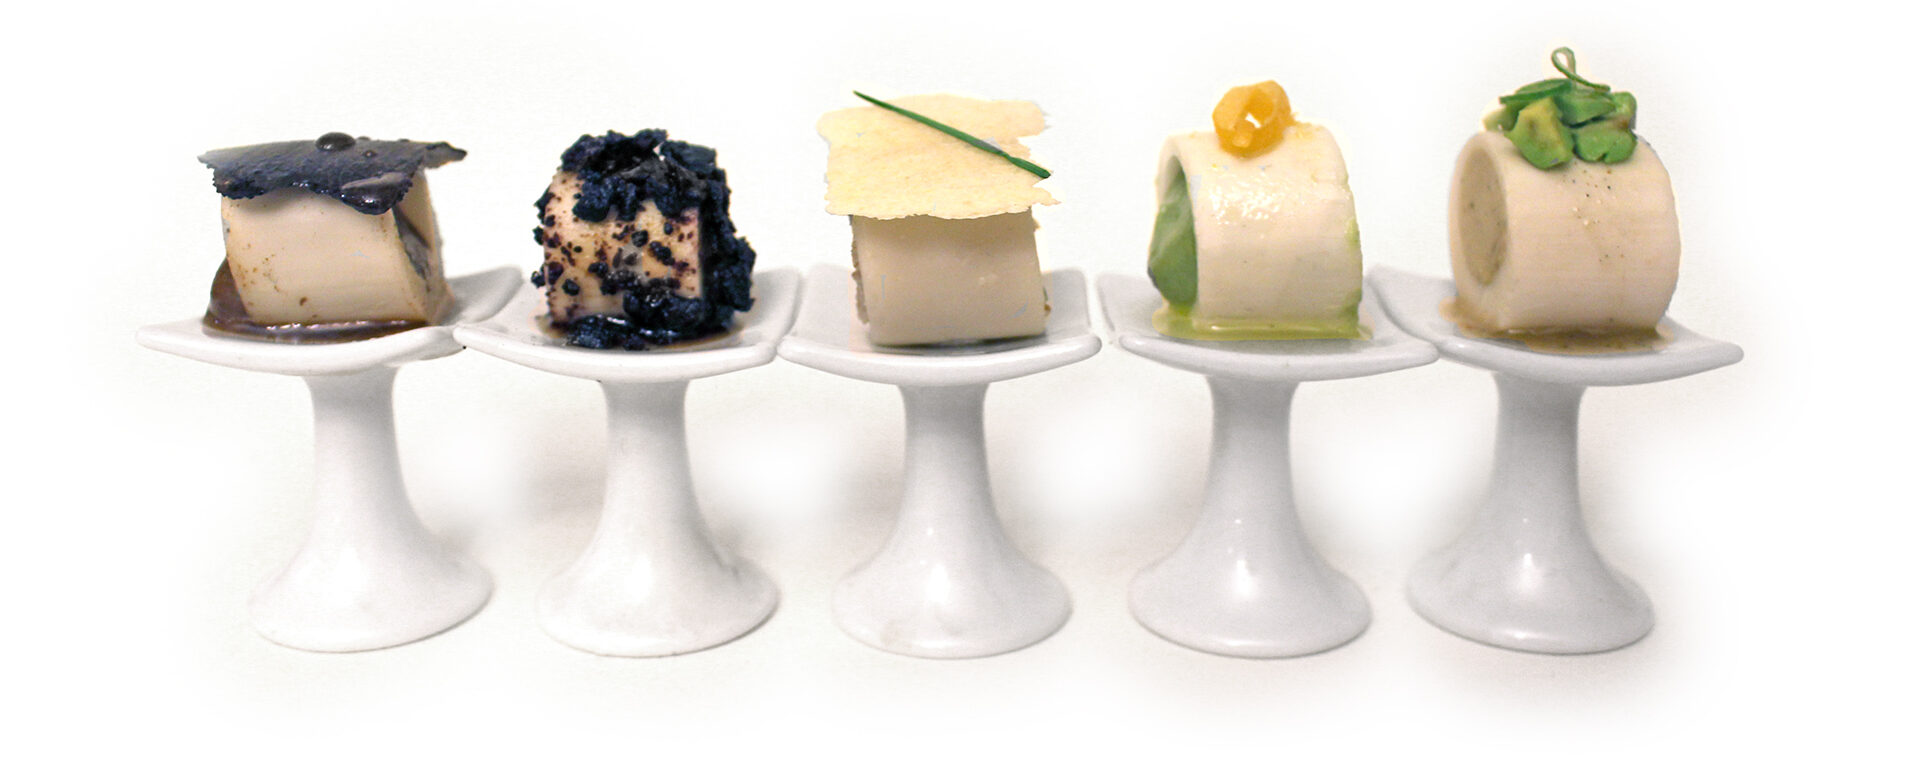
SALSIFY, Smoked Salmon, Dill, Caper (Part 3)
September 21, 2017
071 | AUTUMN SALSIFY, Smoked Salmon, Dill, Caper (Part 3) Alinea Restaurant cookbook recipe, pages 264-269. A fancy recipe for... Read More
SALSIFY, Smoked Salmon, Dill, Caper (Part 2)
November 3, 2015
071 | AUTUMN SALSIFY, Smoked Salmon, Dill, Caper (Part 2) Alinea Restaurant cookbook recipe, pages 264-269. A fancy recipe for... Read More
SALSIFY, Smoked Salmon, Dill, Caper (Part 1)
September 28, 2012
071 | AUTUMN SALSIFY, Smoked Salmon, Dill, Caper (Part 1) Alinea Restaurant cookbook recipe, pages 264-269 Continued in SALSIFY, Smoked... Read More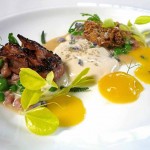
Alineaphile – Seen in the Globe and Mail
July 10, 2012
Alineaphile was featured today in Canada’s national newspaper, The Globe and Mail. Read it! Think you can cook? Try making... Read More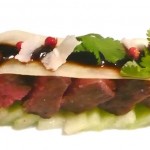
KUROGE WAGYU, Cucumber, Honeydew, Lime Sugar
July 8, 2012
Kuroge Wagyu, Cucumber, Honeydew, Lime Sugar – Alinea cookbook recipe, pages 78-79. I must admit that this was the first... Read More